
You are using an out of date browser. It may not display this or other websites correctly.
You should upgrade or use an alternative browser.
You should upgrade or use an alternative browser.
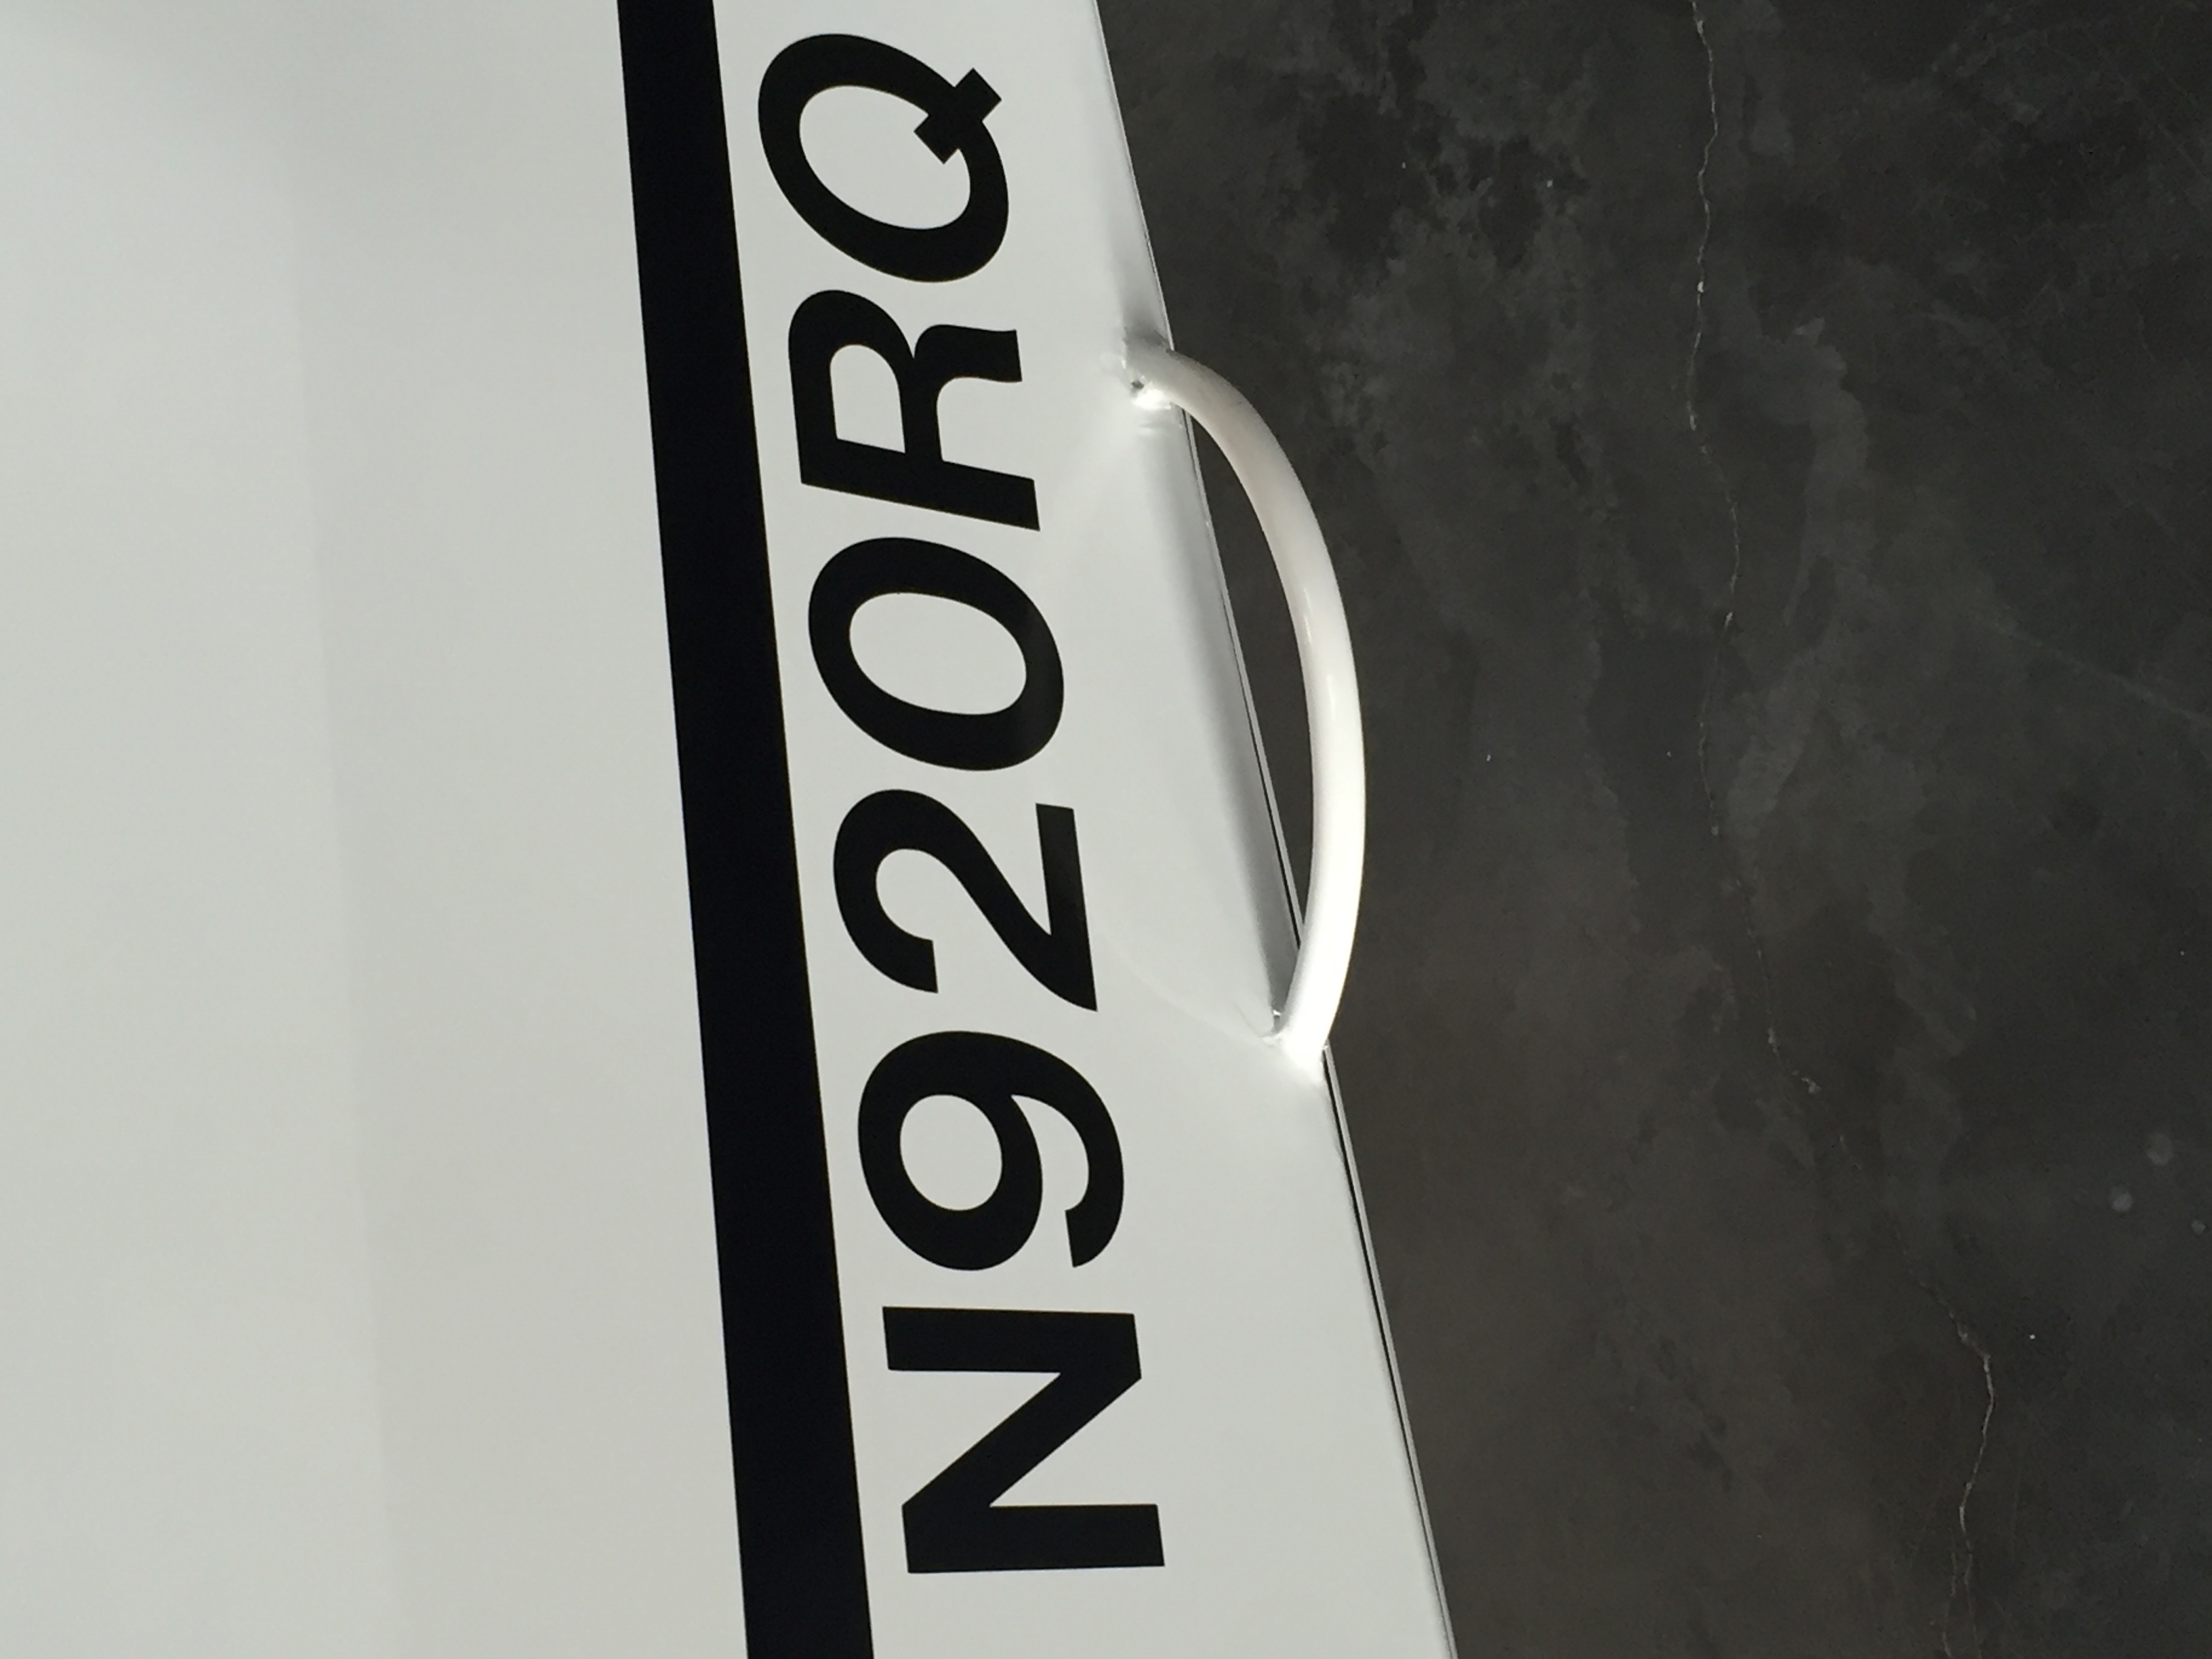
My new Backcountry Super Cub Version 2
- Thread starter Aktahoe
- Start date
Eddie Foy
MEMBER
South Florida
What is the benefit of the Aero Fab controls? They look amazing, just curious what they add in performance.
It is an improved design. The biggest advantage that I see is that you can remove the rear stick and stub completely.. No requirement for a guard in the rear when you have it loaded. Has real bearings instead of steel on steel. This item, in my opinion, is the poorest engineering on my Cub. IMHO! YMMV!
cubdriver2
FRIEND
upstate NY
Yup poorly designed. In 4000 hrs only maintenance i've ever done on a 75 year old cub is a drop of oil once a year.
Glenn
Glenn
cubdriver2
FRIEND
upstate NY
Just curious Glenn. Did you ever meet Will Rogers?
No, but I knew his dog
Glenn
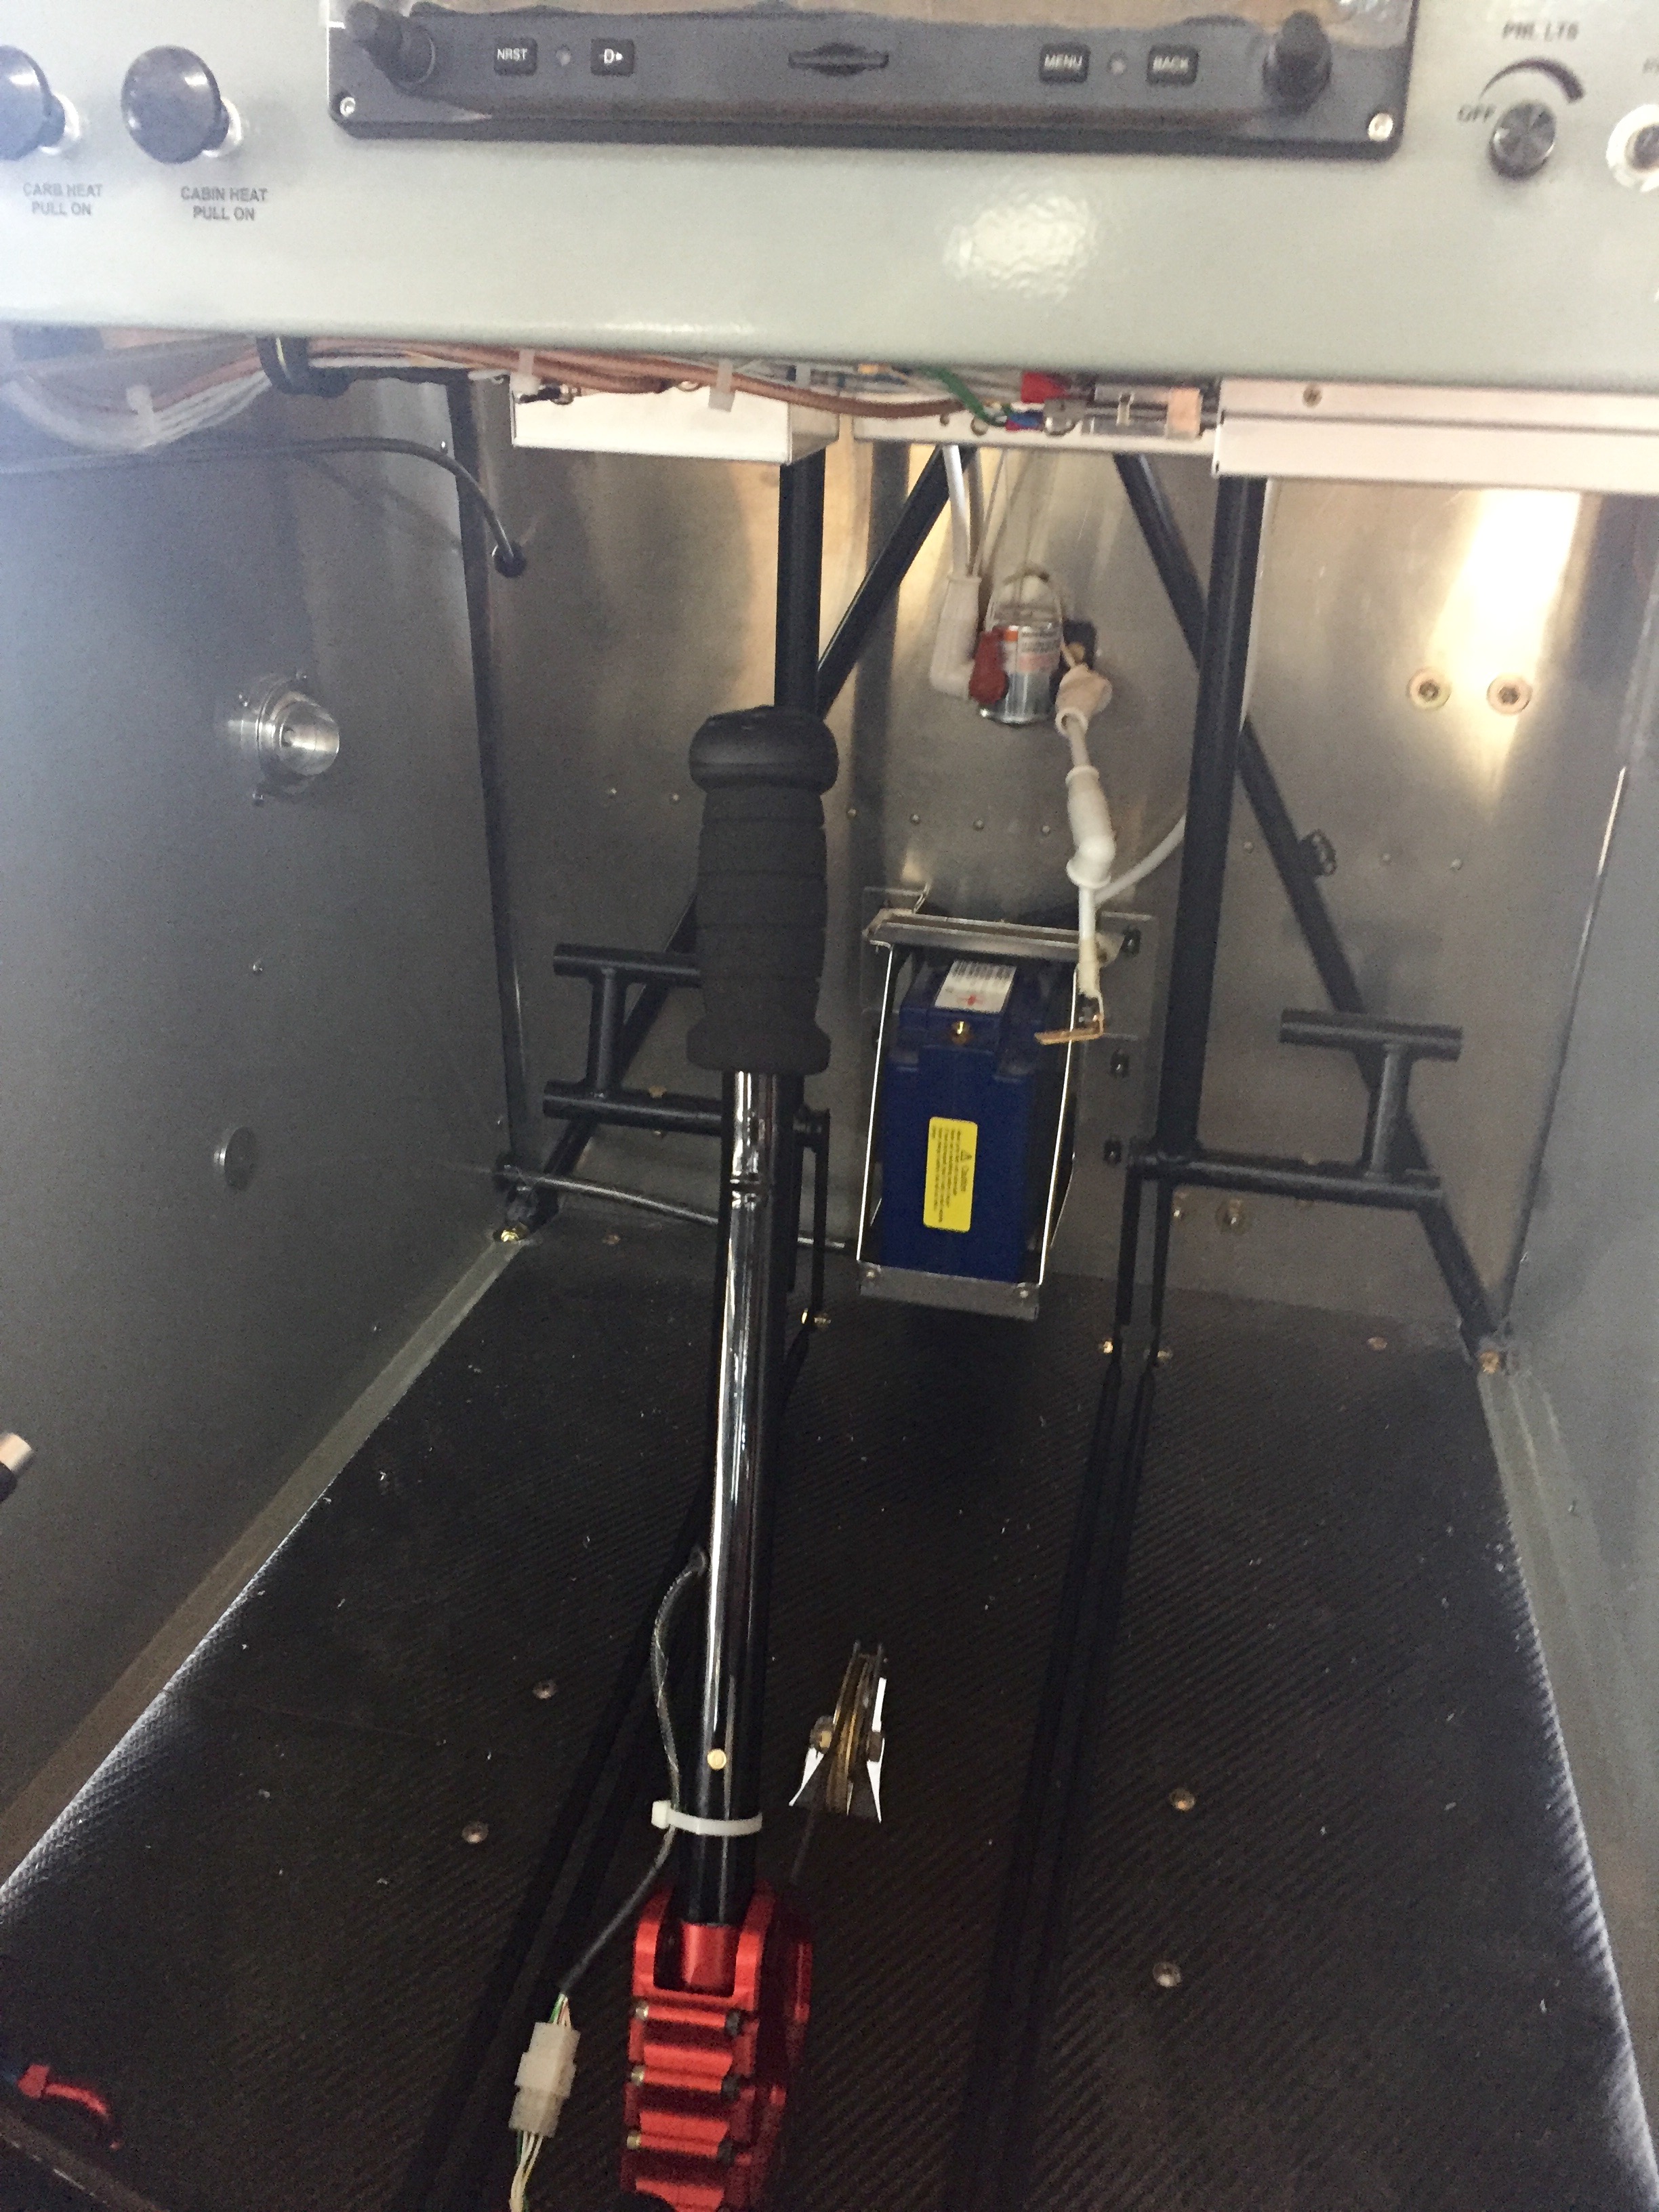
The Vintage Aerofab - Precise Flight control stick was started when a customer contacted Vintage Aerofab with an issue that was frustrating him on his Super Cub. The issue was that the original controls felt clunky and sloppy. Another concern was with safety of the aircraft with passengers or baggage in the back that could overpower the pilot or cause a control jam.
While in cruise, making slight corrections, a stick that has play in it feels sloppy, like an old truck with a worn out steering box. After you've spent several years and a good chunk of money building your dream airplane, a sloppy feeling airplane is the last thing you would want to think about. Vintage Aerofab took on the challenge of correcting the deficiencies found in the 1940s technology and brought it up to date using tight tolerances and CNC machining centers to ensure repeat-ability in every part. The torque tube is supported on graphite impregnated bronze bearings. This allows you to change out the bearings if required as well as eliminate adding oil to the original steel on steel design. When oil is added to a pivot point, it attracts dust and dirt. This dust and dirt acts like sandpaper, wearing out components and thinning the wall thickness of the torque tube and caps. The graphite impregnated bronze bearings will fit directly into the torque tube cradle and cap assemblies of an original Cub.
The yoke of the control stick is supported by a 17-4 PH stainless steel pins and ball bearings that can be replaced as well. The pins and bearings are a near perfect fit (+/- 0.00025" tolerance). This ensure there will be no play in the yoke and mast assembly. The customer sent his control stick in for us to gather dimension from. It was noted that when the torque tube was held firm in a vise, there was almost 3/8" play at the grip. This means that if he was trying to go back to wings level in cruise flight, he may have to move the stick 3/8" before the ailerons received an input to correct for a gust of wind or one of those pot holes in the sky. The prototype Vintage Aerofab - Precise Flight stick that was tested had 0.014" of movement at the grip. This is approximately the thickness of three sheets of paper, and a dramatic improvement over the original design.
In addition to the improved feel and quick response of the new stick, another safety concern was addressed with the removable stick, yoke, and mast assembly. We've all heard of passengers who were trying to overpower the pilot while out on a flight. In a tandem seat aircraft this can make for an extremely bad day. The other concern would be shifting baggage that jams a flight control. The Precise Flight stick can have the stick, yoke, and mast removed in the field while not disturbing cable tensions. Removing the nuts and screws will allow you to remove the mast halves. Once this is done, removal of the clevis pin in the yoke removes the entire assembly. The only thing remaining is the round torque tube. If baggage or a load were to shift and fall on the torque there would be nothing there to jam the ailerons or the elevators.
To see some of the other solutions Vintage Aerofab has come up with for our customers go to www.vintageaf.com or go to the Vintage Aerofab Facebook page.
Tim
cubdriver2
FRIEND
upstate NY
I'm impressed by the design and workmanship. But like my 29 Model A roadster pickup, a new steering wheel is not going to let me take the turns any faster?
Glenn
Glenn
I'm impressed by the design and workmanship. But like my 29 Model A roadster pickup, a new steering wheel is not going to let me take the turns any faster?
Glenn
Thank you for the compliment on the design and workmanship. It was a very enjoyable project from the design stages all the way through flight testing.
I agree that we are not going to expand the flight envelopes of a Cub to those of a Pitts. However, what we have done is given the pilot a better experience every time he or she flies their airplane. The stick is the one thing in the airplane that you have your hands on for the duration of the flight. If it feels loose or you have to over correct, it can make the rest of the airframe feel as if it is loose and worn out as well. Giving the controls a new airplane feel and adding to the safety of the aircraft is something that we feel the Vintage Aerofab - Precise Flight stick has done.
Tim
mike mcs repair
Registered User
chugiak AK
Thank you for the compliment on the design and workmanship. It was a very enjoyable project from the design stages all the way through flight testing.
I agree that we are not going to expand the flight envelopes of a Cub to those of a Pitts. However, what we have done is given the pilot a better experience every time he or she flies their airplane. The stick is the one thing in the airplane that you have your hands on for the duration of the flight. If it feels loose or you have to over correct, it can make the rest of the airframe feel as if it is loose and worn out as well. Giving the controls a new airplane feel and adding to the safety of the aircraft is something that we feel the Vintage Aerofab - Precise Flight stick has done.
Tim
a video of the installation and removal of such contraption ON A FLYING BIRD would be appreciated??? to show benefits?
Mauleguy
MEMBER
The Vintage Aerofab
The yoke of the control stick is supported by a 17-4 PH stainless steel pins and ball bearings that can be replaced as well. The pins and bearings are a near perfect fit (+/- 0.00025" tolerance). This ensure there will be no play in the yoke and mast assembly. The customer sent his control stick in for us to gather dimension from. It was noted that when the torque tube was held firm in a vise, there was almost 3/8" play at the grip. This means that if he was trying to go back to wings level in cruise flight, he may have to move the stick 3/8" before the ailerons received an input to correct for a gust of wind or one of those pot holes in the sky. The prototype Vintage Aerofab - Precise Flight stick that was tested had 0.014" of movement at the grip. This is approximately the thickness of three sheets of paper, and a dramatic improvement over the original design.
To see some of the other solutions Vintage Aerofab has come up with for our customers go to www.vintageaf.com or go to the Vintage Aerofab Facebook page.
Tim
I love CNC machined stuff in fact I make my living at it, although I like the looks of what was built.
I just built my Javron cub and I can tell you there is not 3/8" of play, something was not right. If there was that much play it still would be a non issue in a cub from my point of view.
Greg
I'm impressed by the design and workmanship. But like my 29 Model A roadster pickup, a new steering wheel is not going to let me take the turns any faster?
Glenn
no, but a new steering box might keep you out of the ditch some day.
cubdriver2
FRIEND
upstate NY
no, but a new steering box might keep you out of the ditch some day.
All part of the charm of driving one
Glenn
Mauleguy
MEMBER
I just built my Javron cub and I can tell you there is not 3/8" of play, something was not right. If there was that much play it still would be a non issue in a cub from my point of view.
Greg
OK, I just got back from flying my cub and I will admit there is about 3/8" of play in the stick. Some of it is from clearance for the cross bolt through the stick in the tower and some is probably from cable linkage. I think I can live with it because the alternative is to painful for me (3300.00). Just wanted to be honest and admit there was play since I said there was not.
mike mcs repair
Registered User
chugiak AK
OK, I just got back from flying my cub and I will admit there is about 3/8" of play in the stick. Some of it is from clearance for the cross bolt through the stick in the tower and some is probably from cable linkage. I think I can live with it because the alternative is to painful for me (3300.00). Just wanted to be honest and admit there was play since I said there was not.
play != bad thing....


Aktahoe
Registered User
Truckee, Alaska
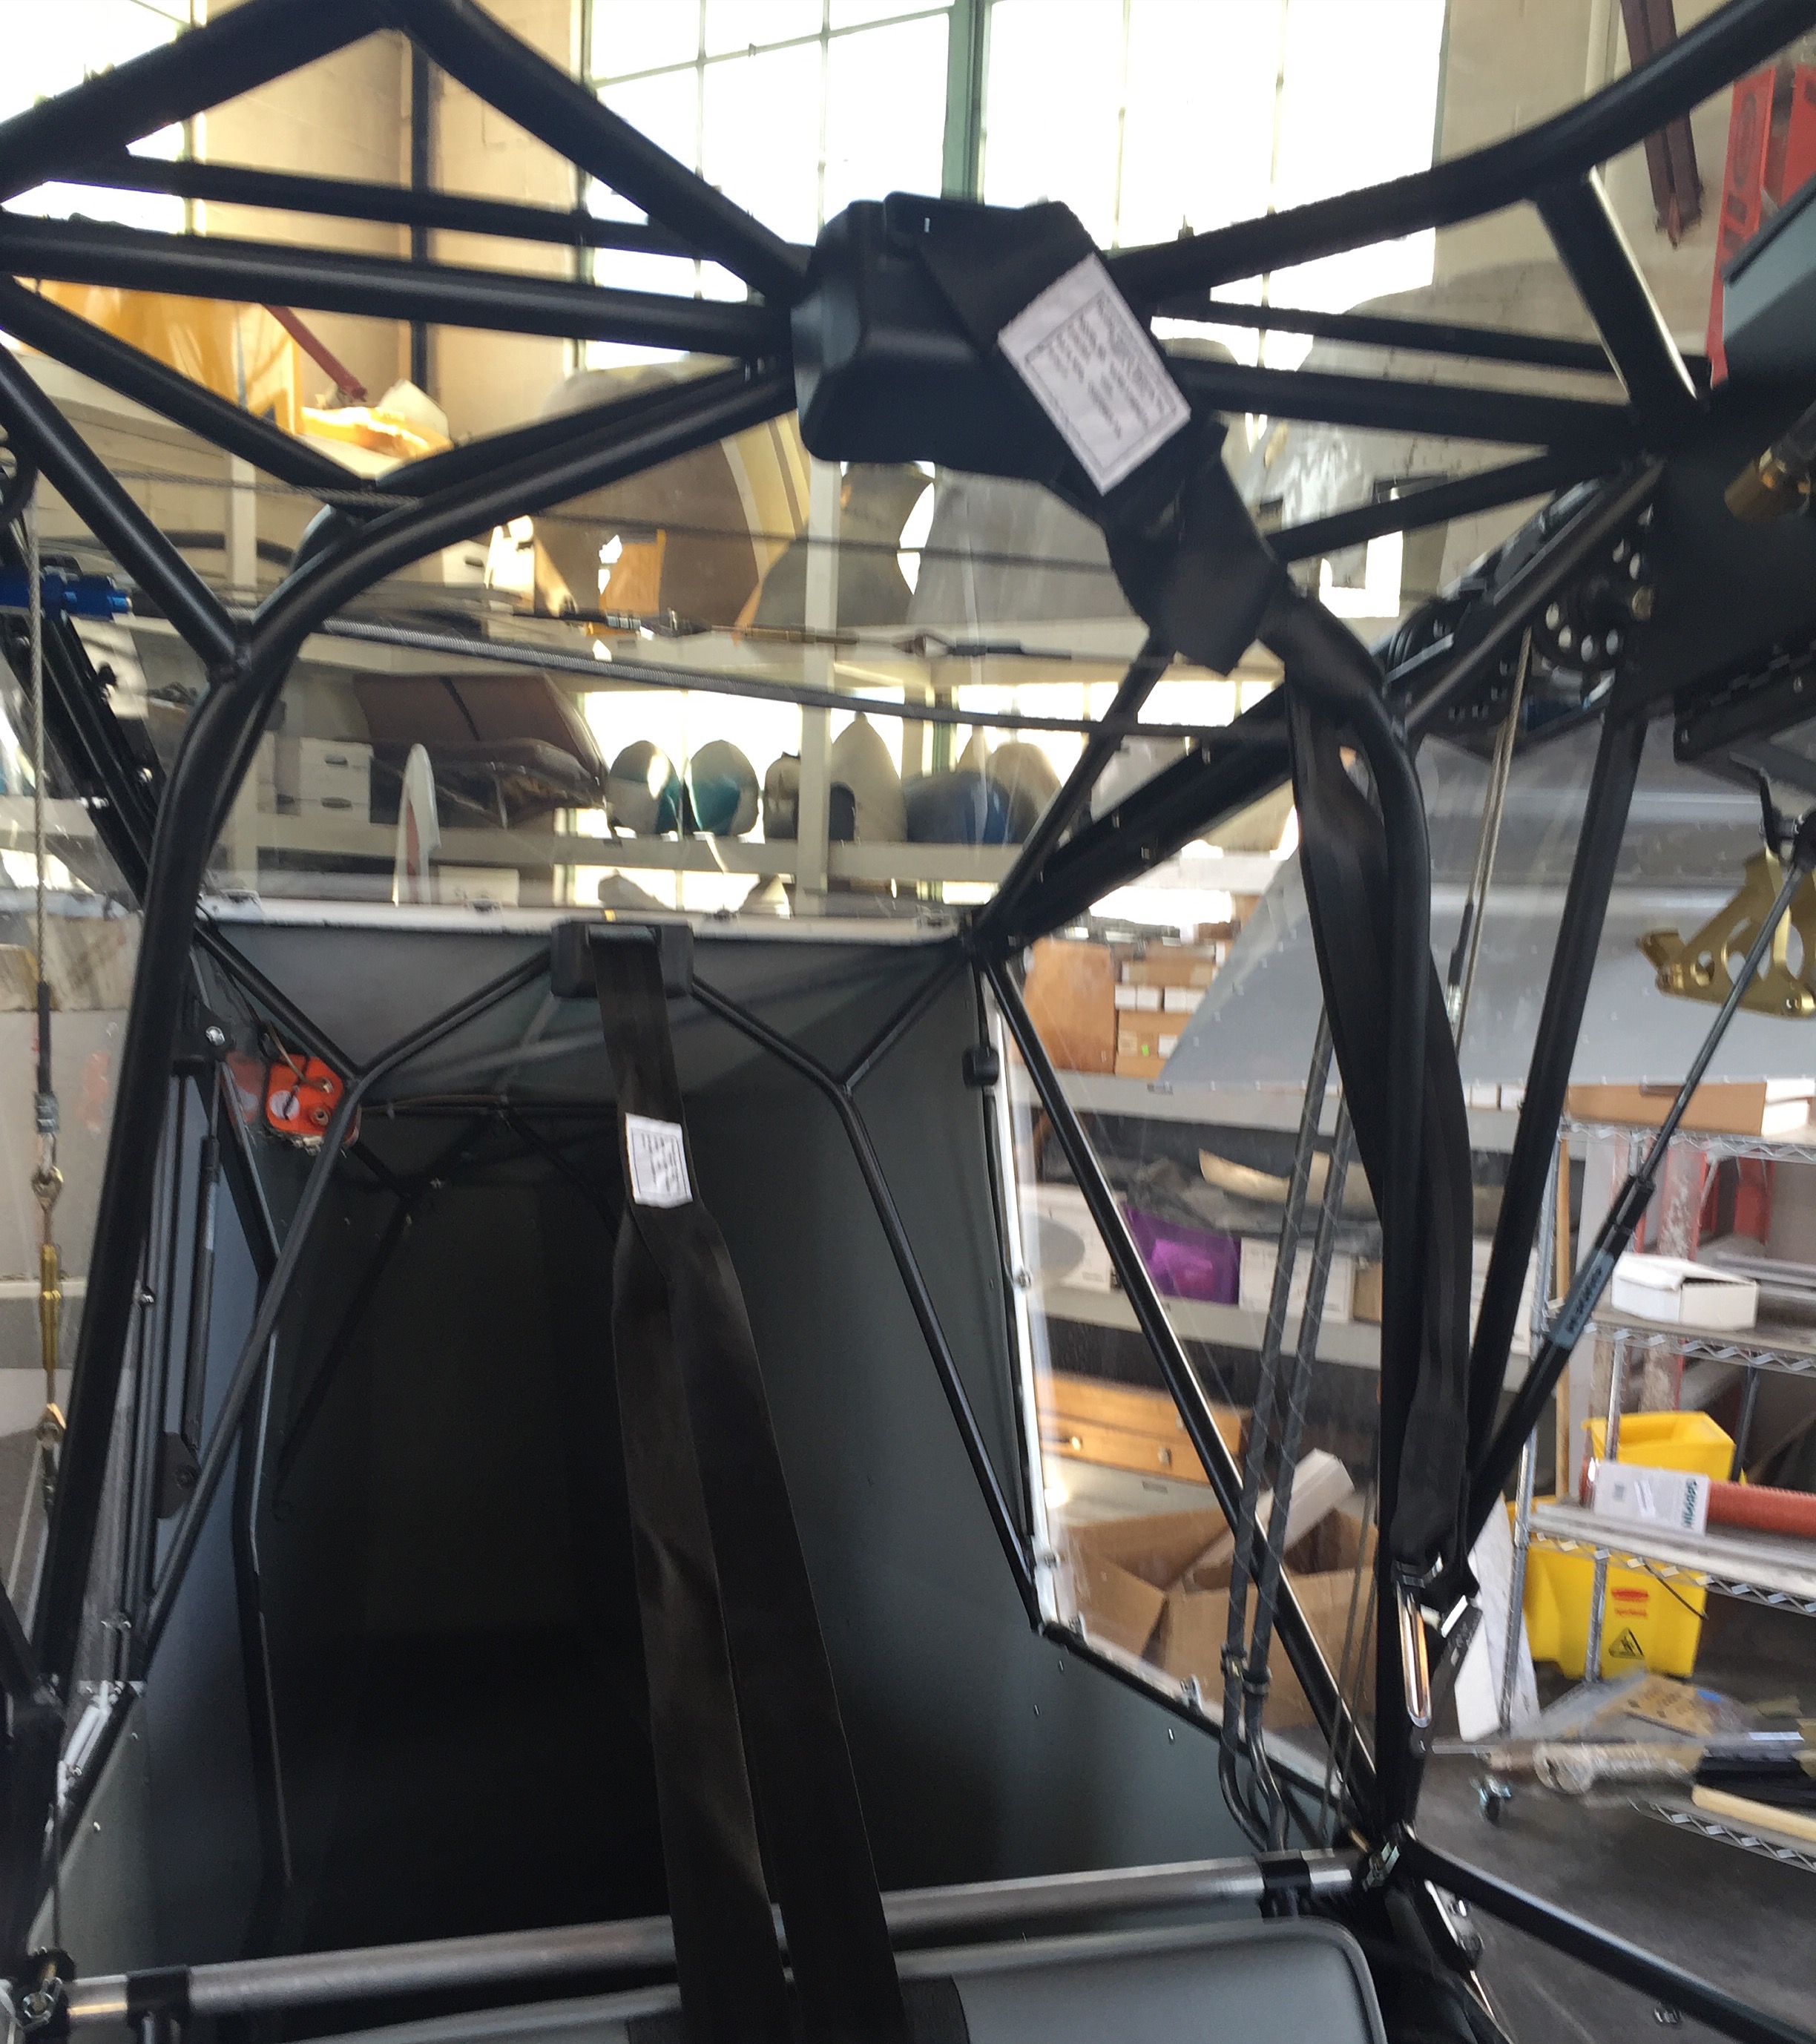
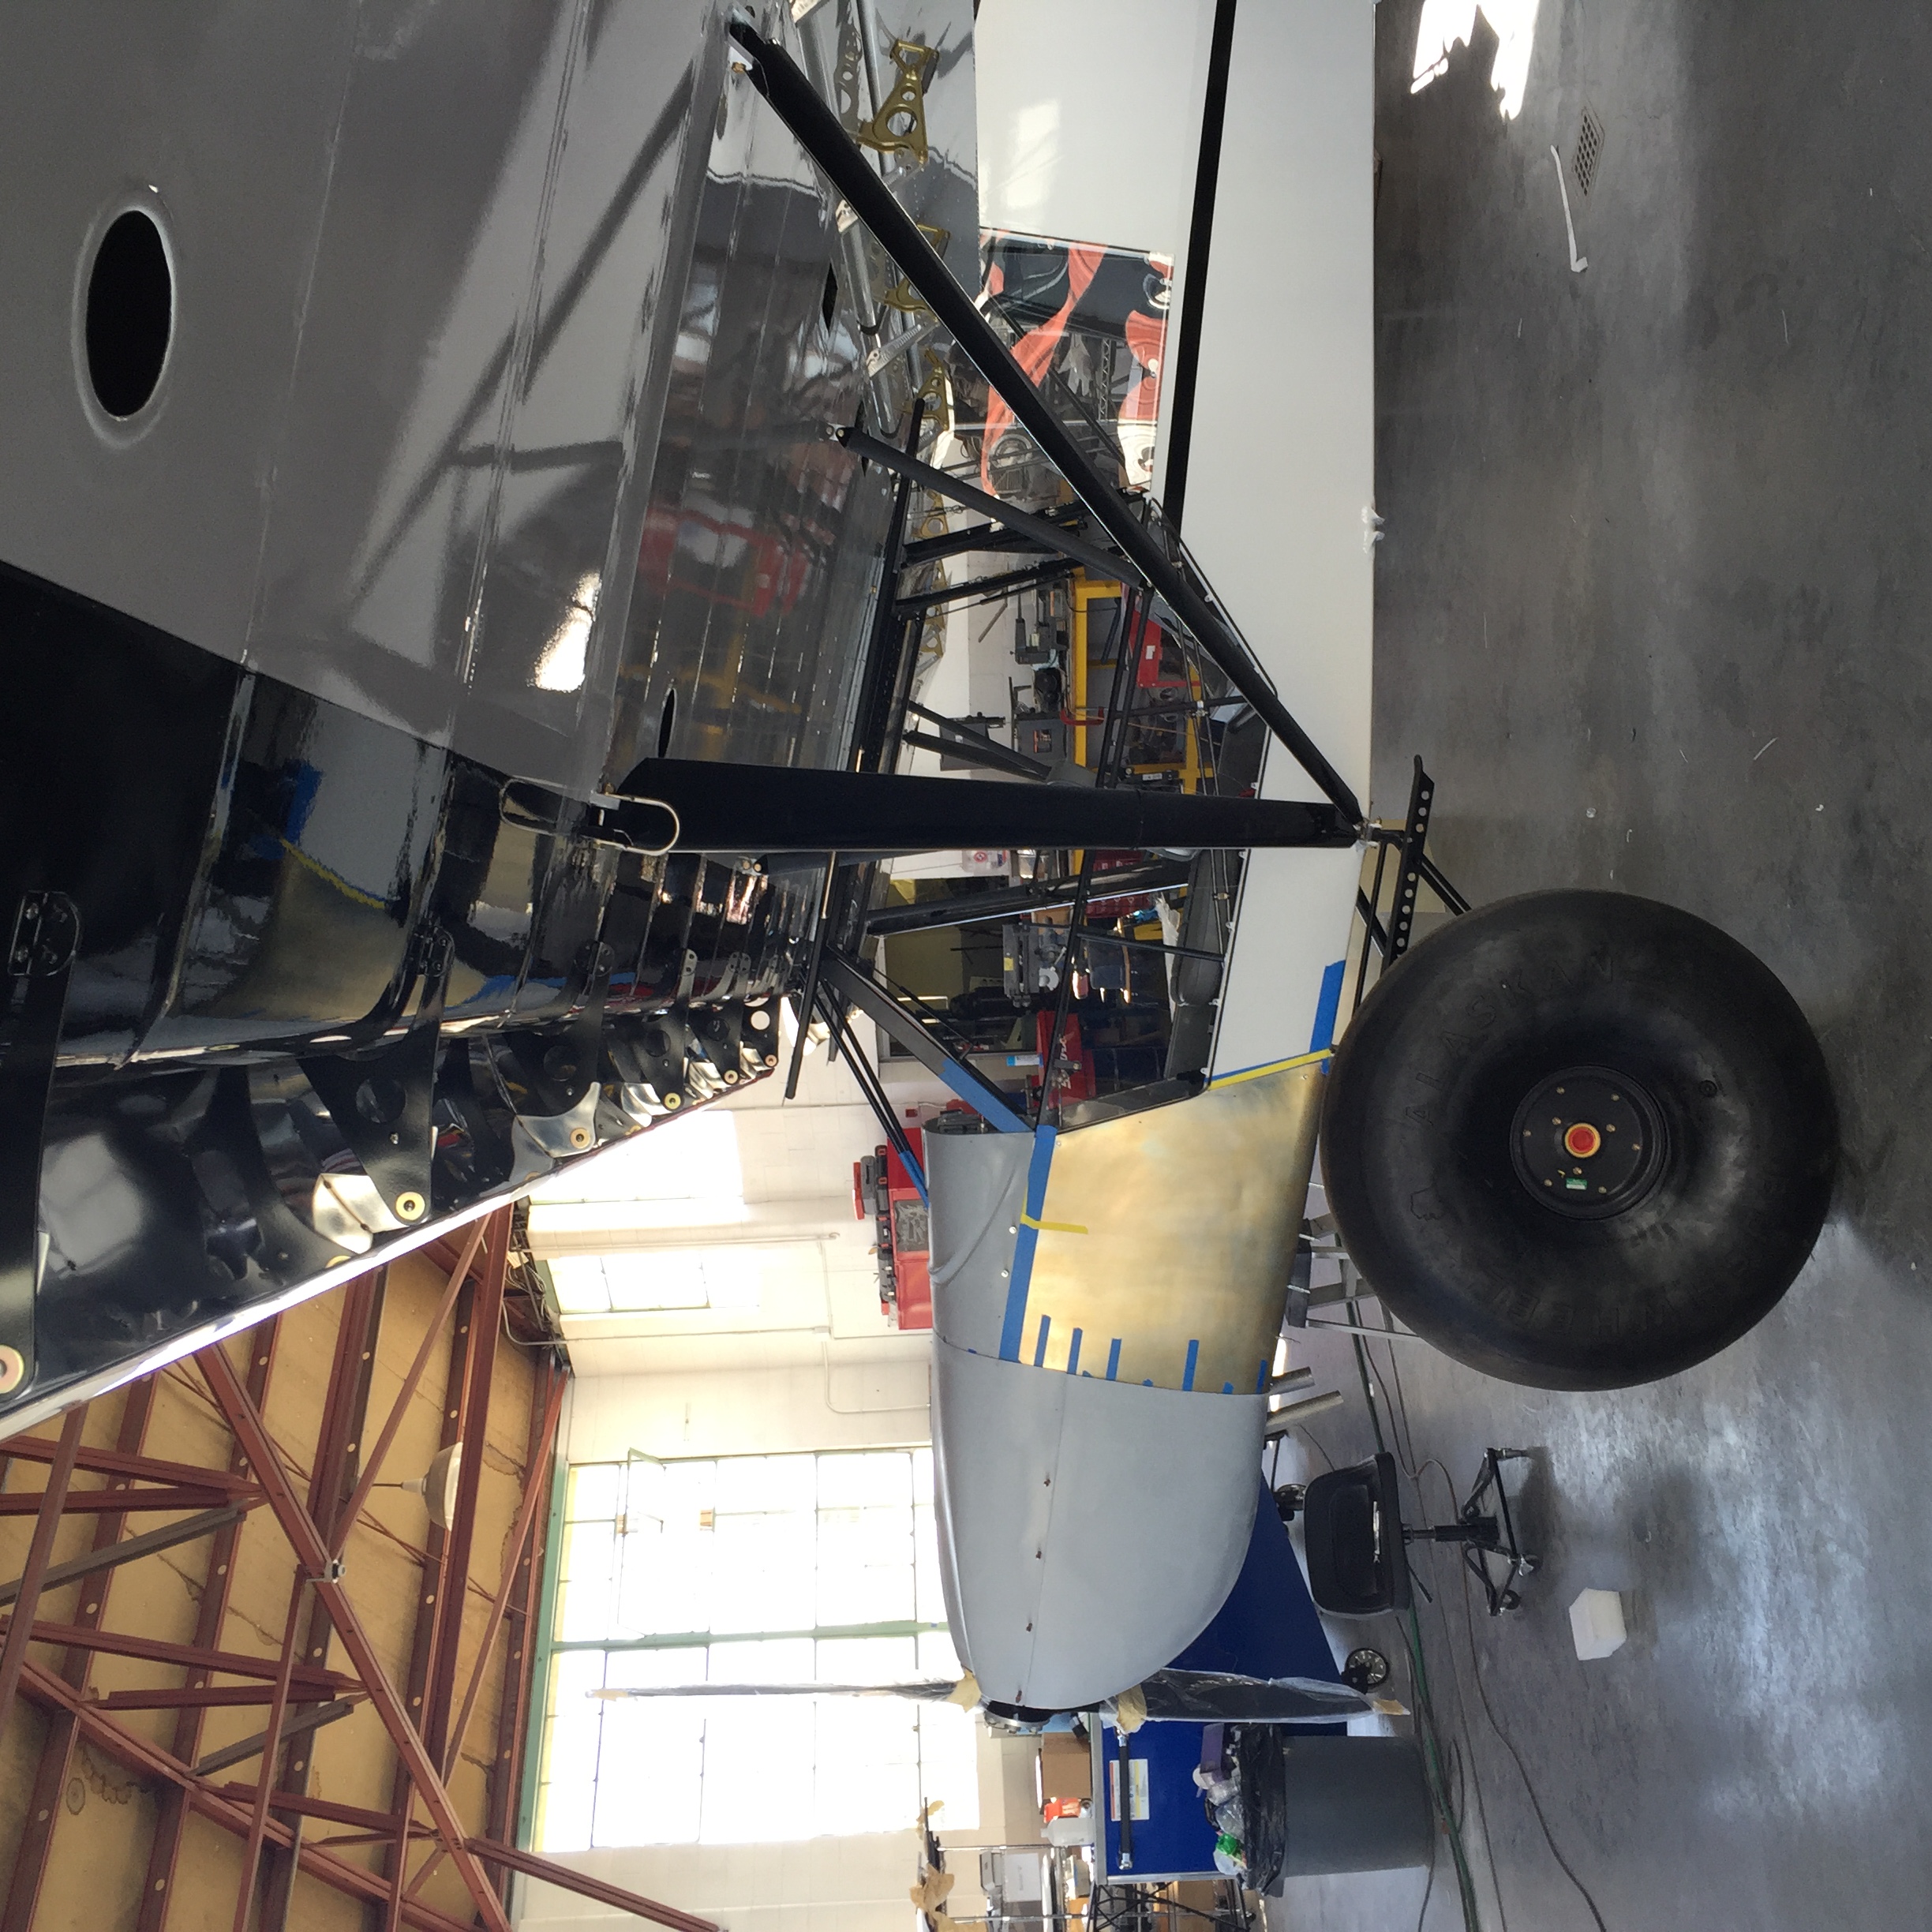
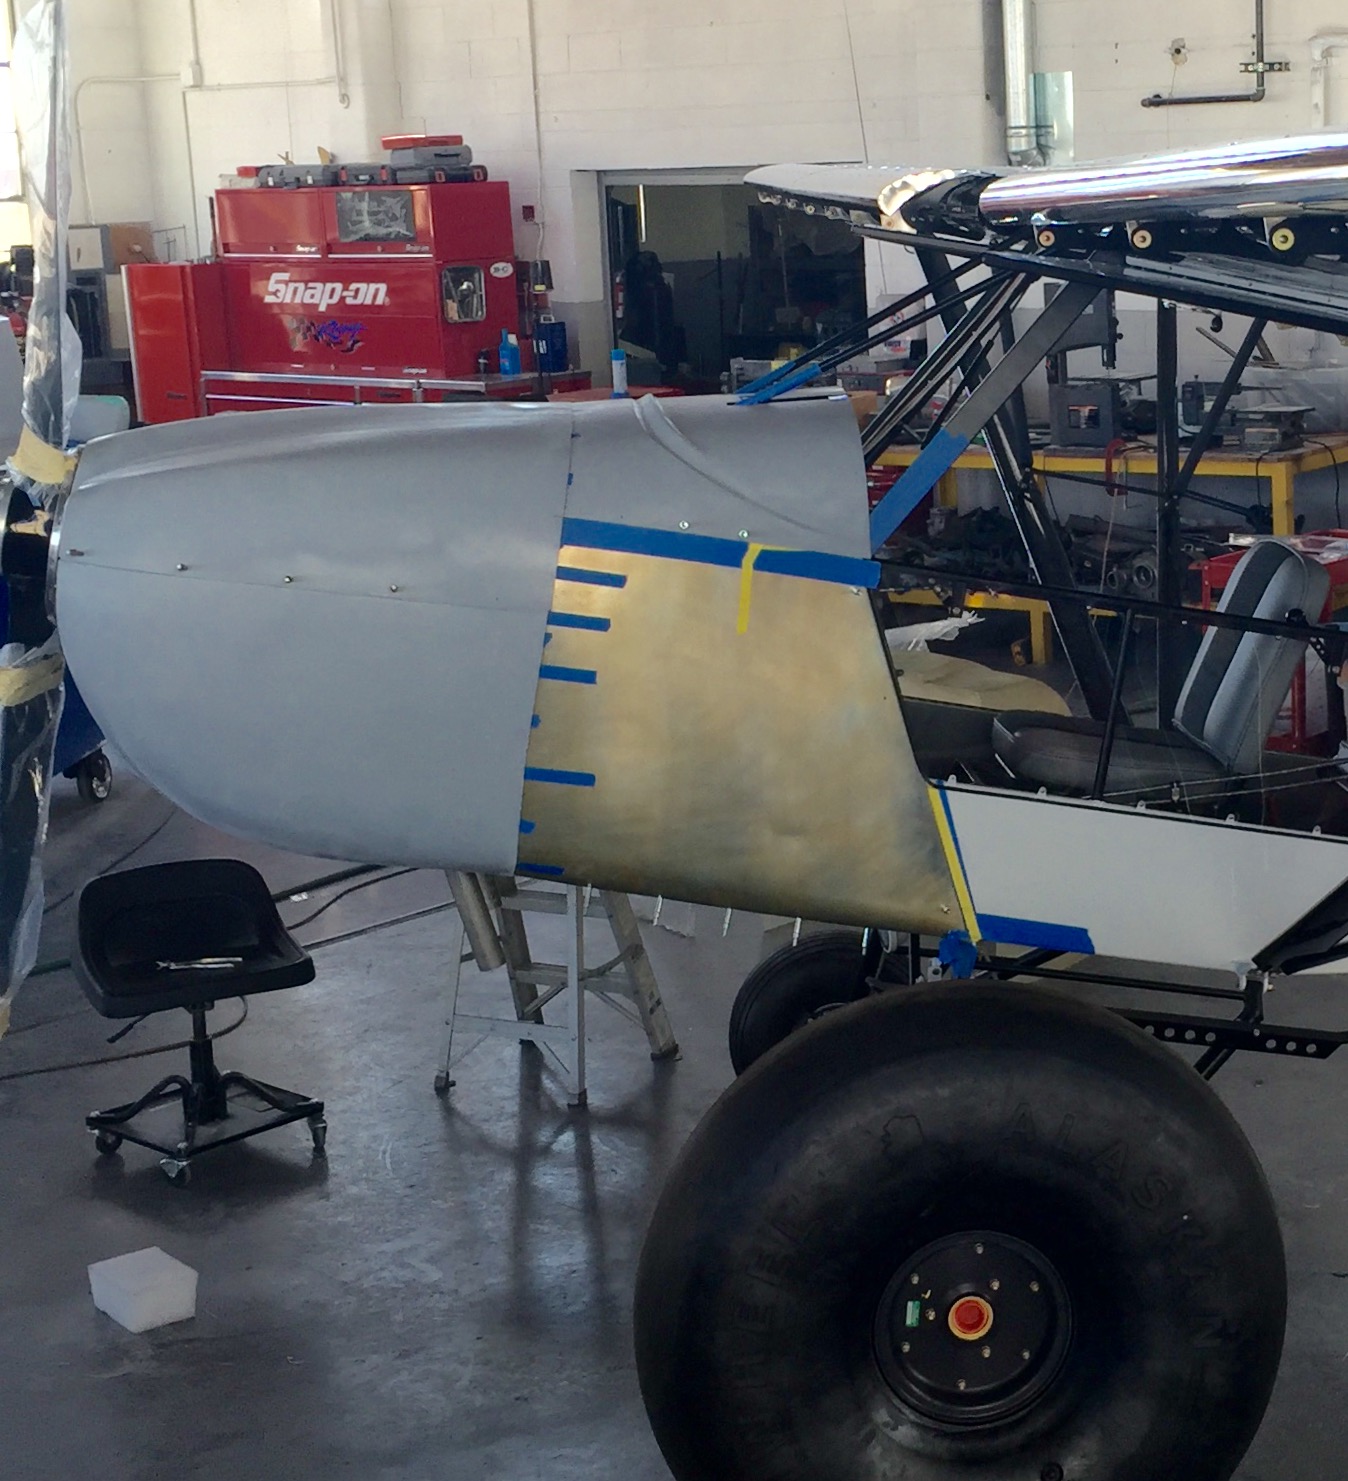
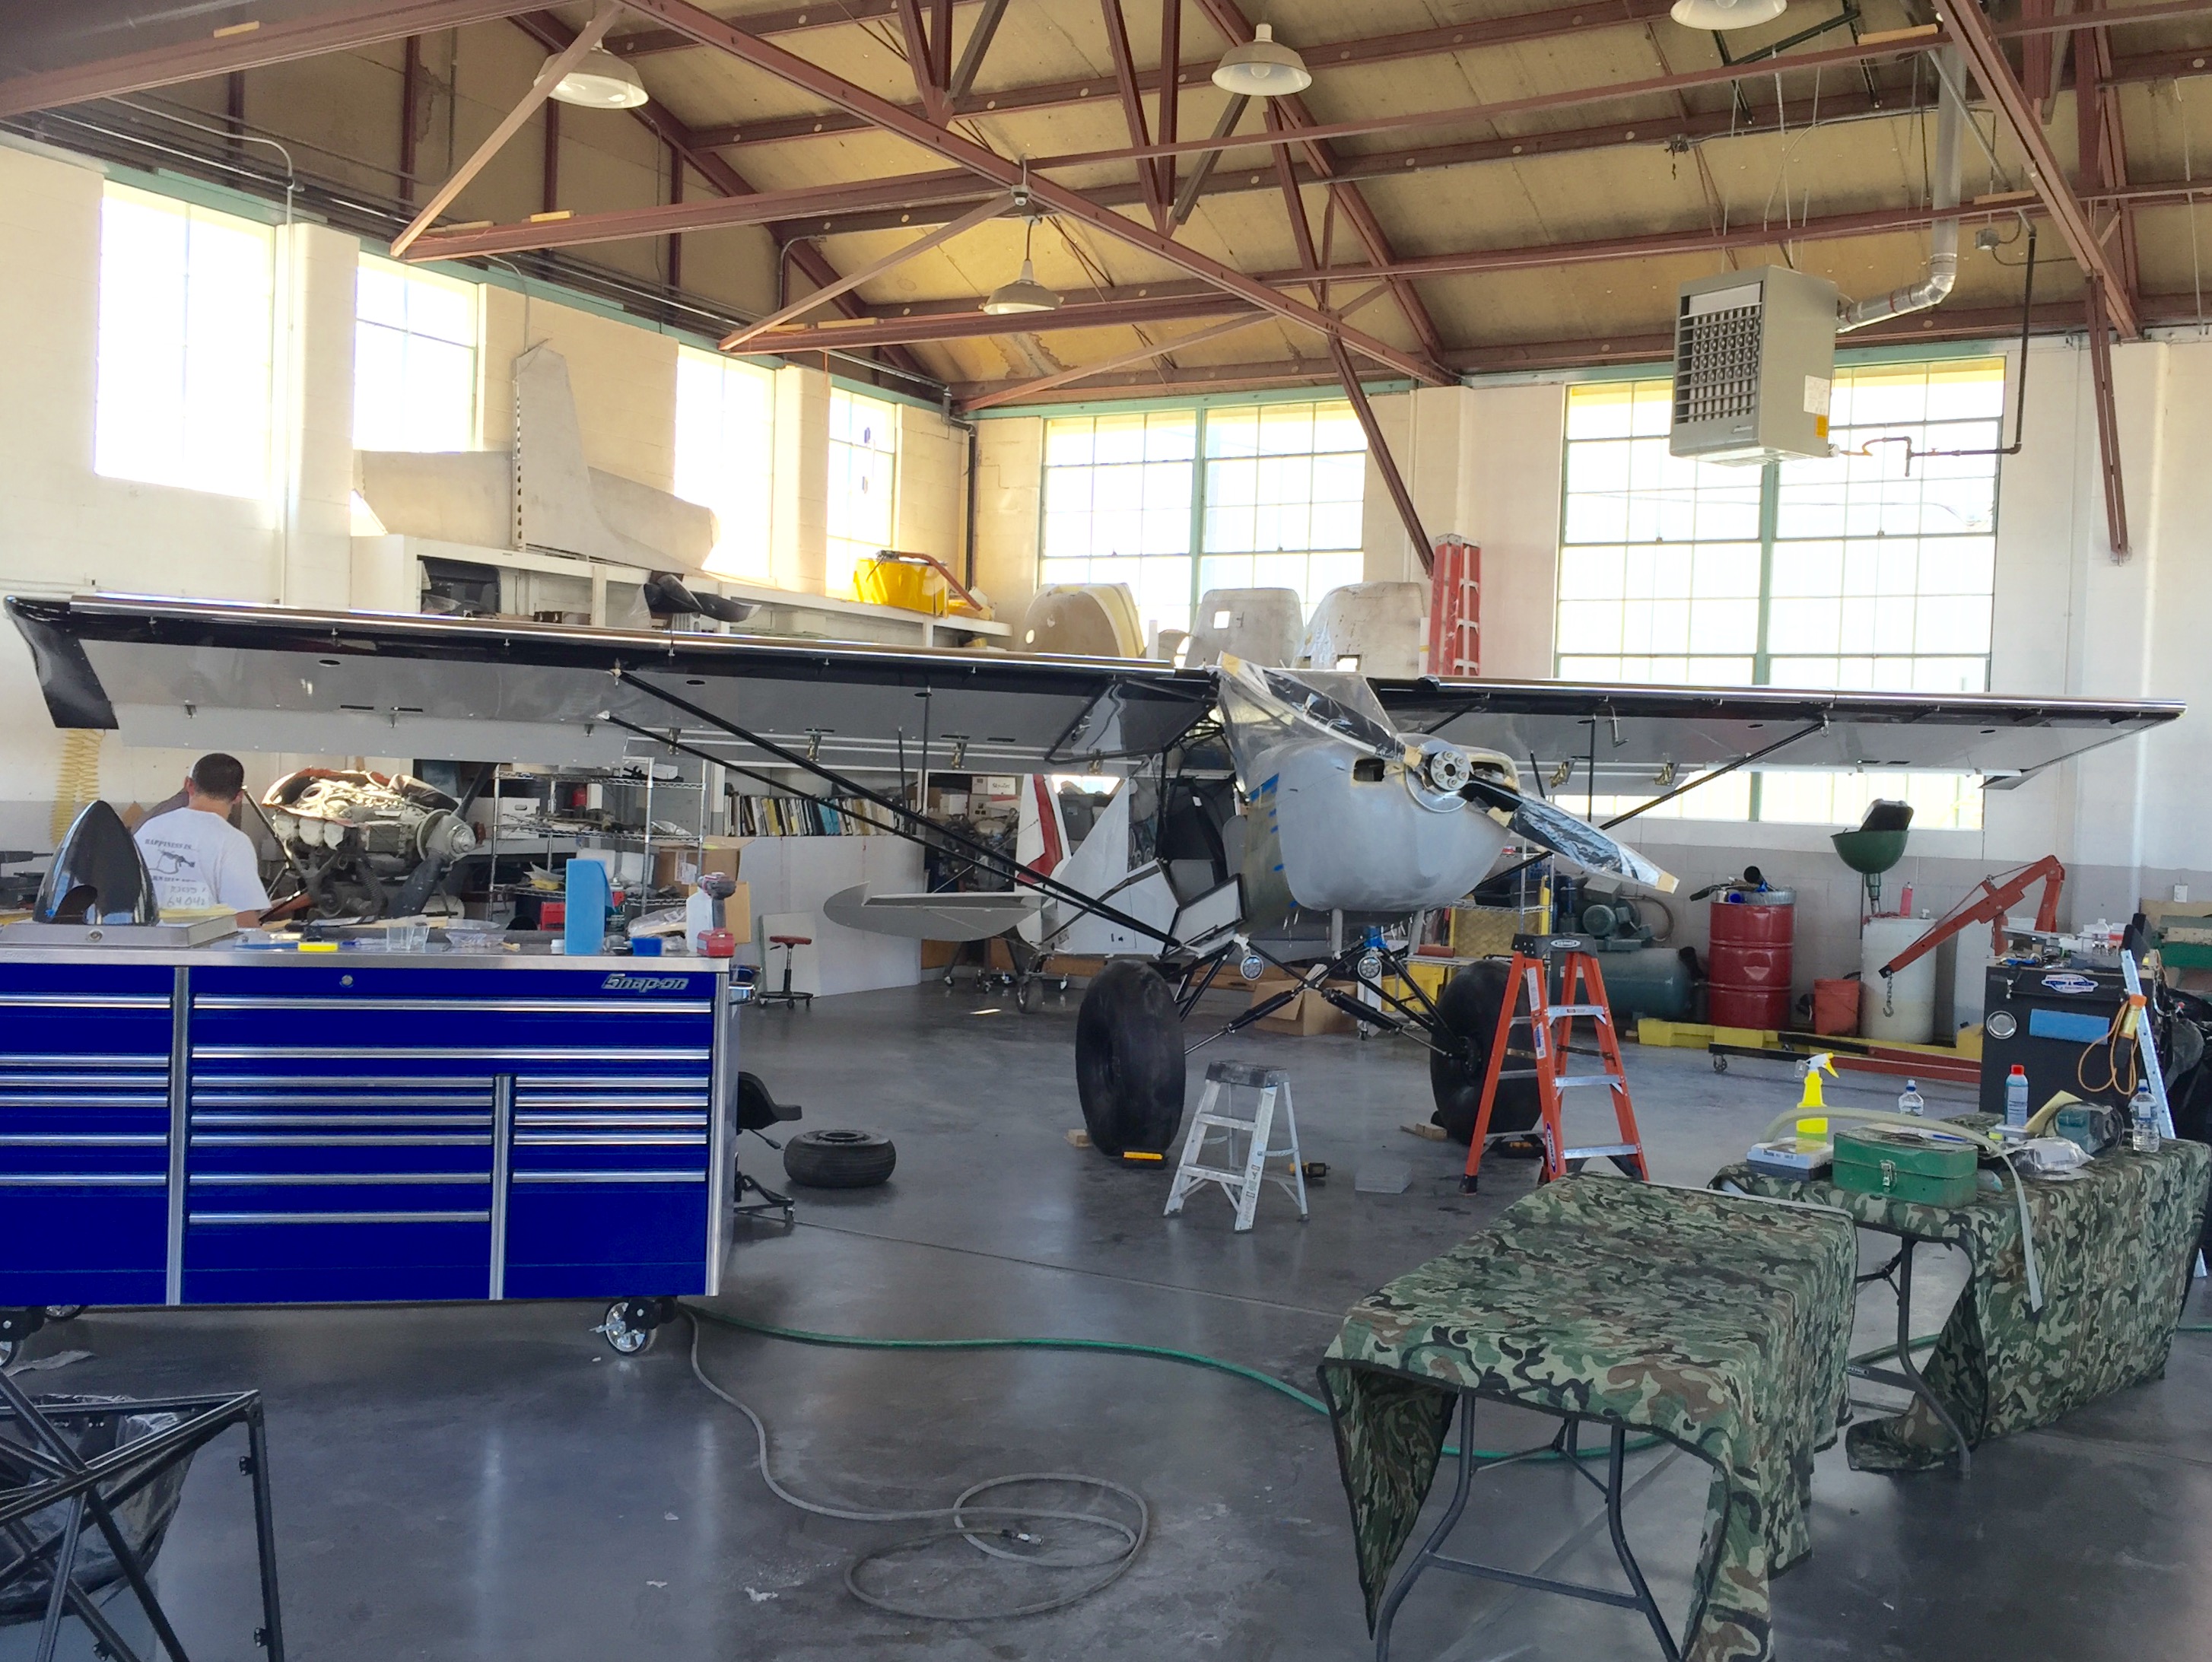
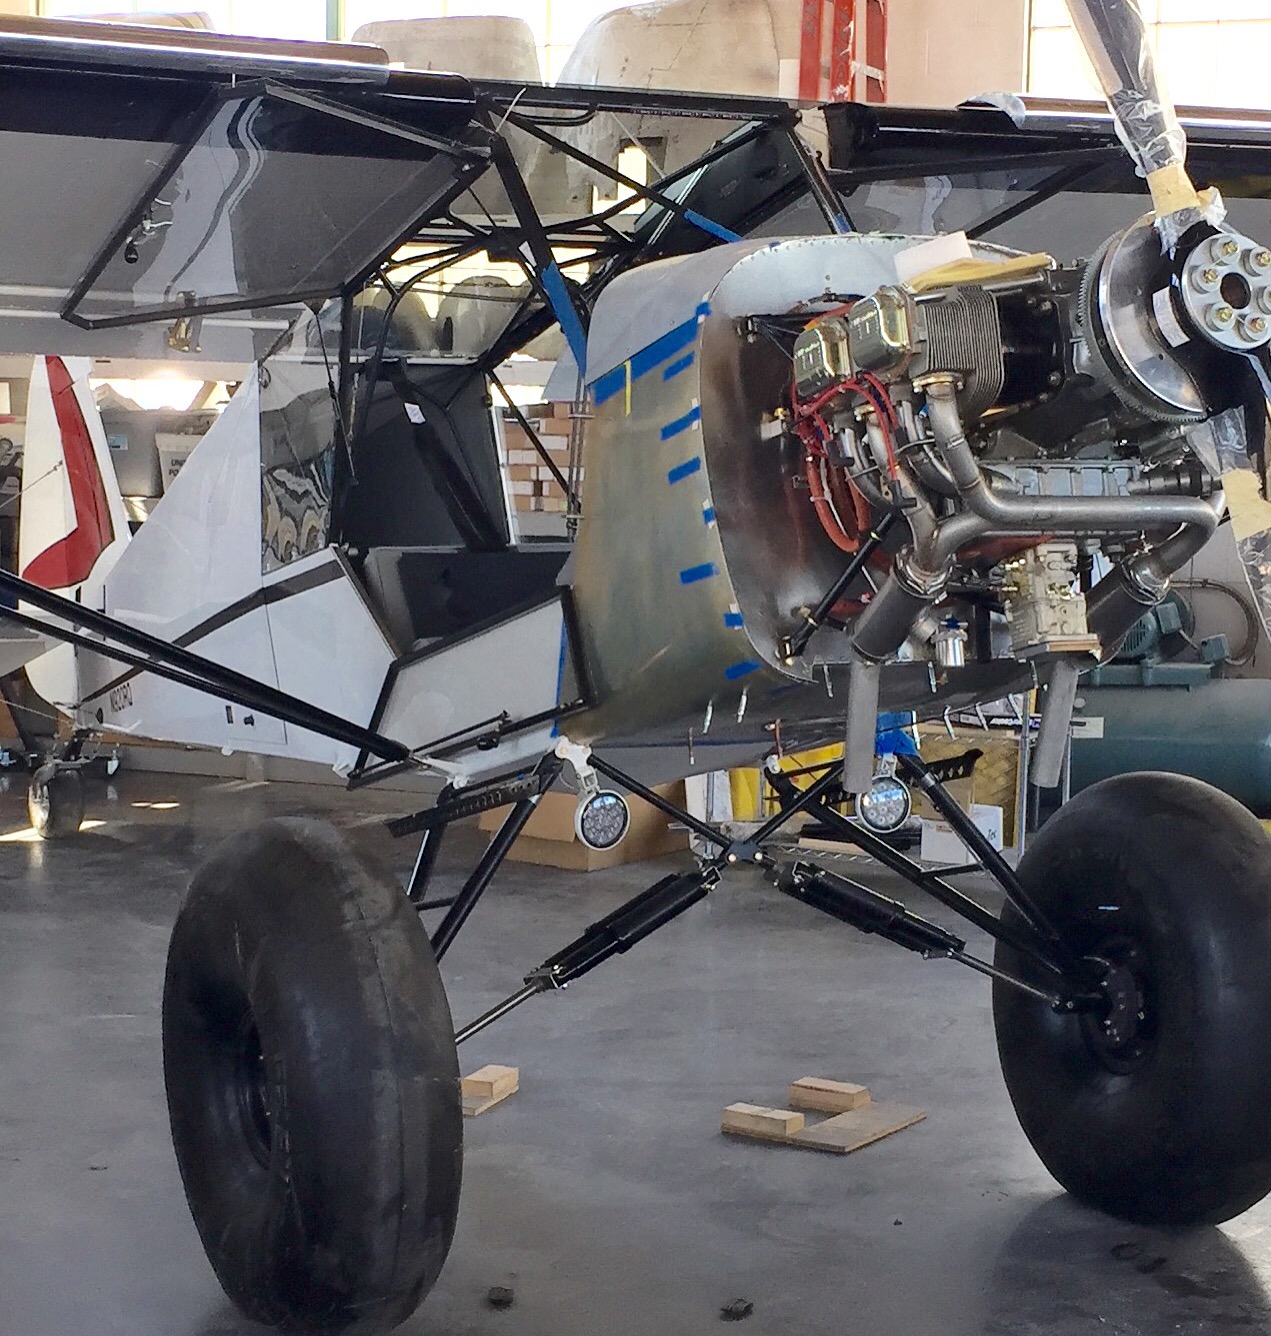
[FONT=Droid Sans, Arial, Tahoma]I have spent a lot of time as of late getting this thing ready for the DAR and its first flight. It’s truly a beast on 35’s. Weight will be just under 1300lbs and were very happy about that. Cowling is off to paint with the modifications in place. Oil cooler up front, air filter under the below will show about 2" on the bottom with a flange in front of the exhaust pipes, shark type gills on the cowl, etc. The cowl is a one off. I have never really been a fan of the SQ cut throat look. We tried hard for a more traditional cub look with a blend of the SQ look minus the cut throat under belly. Stay tuned for final details on weights, CG and performance. Its a beast on the 35's. Visibility over the nose is exceptional. The huge horizontal and vertical fin should provide excellent performance along with the big Keller (Performance) flaps. We have done virtually everything possible to keep it light. The next post will be the completed project with final weights, CG and performance! Stay tuned...[/FONT]


AKT

AKT
Last edited:
ER Upgrade
Registered User
Eagle River
That's a beauty.
N
Nocub
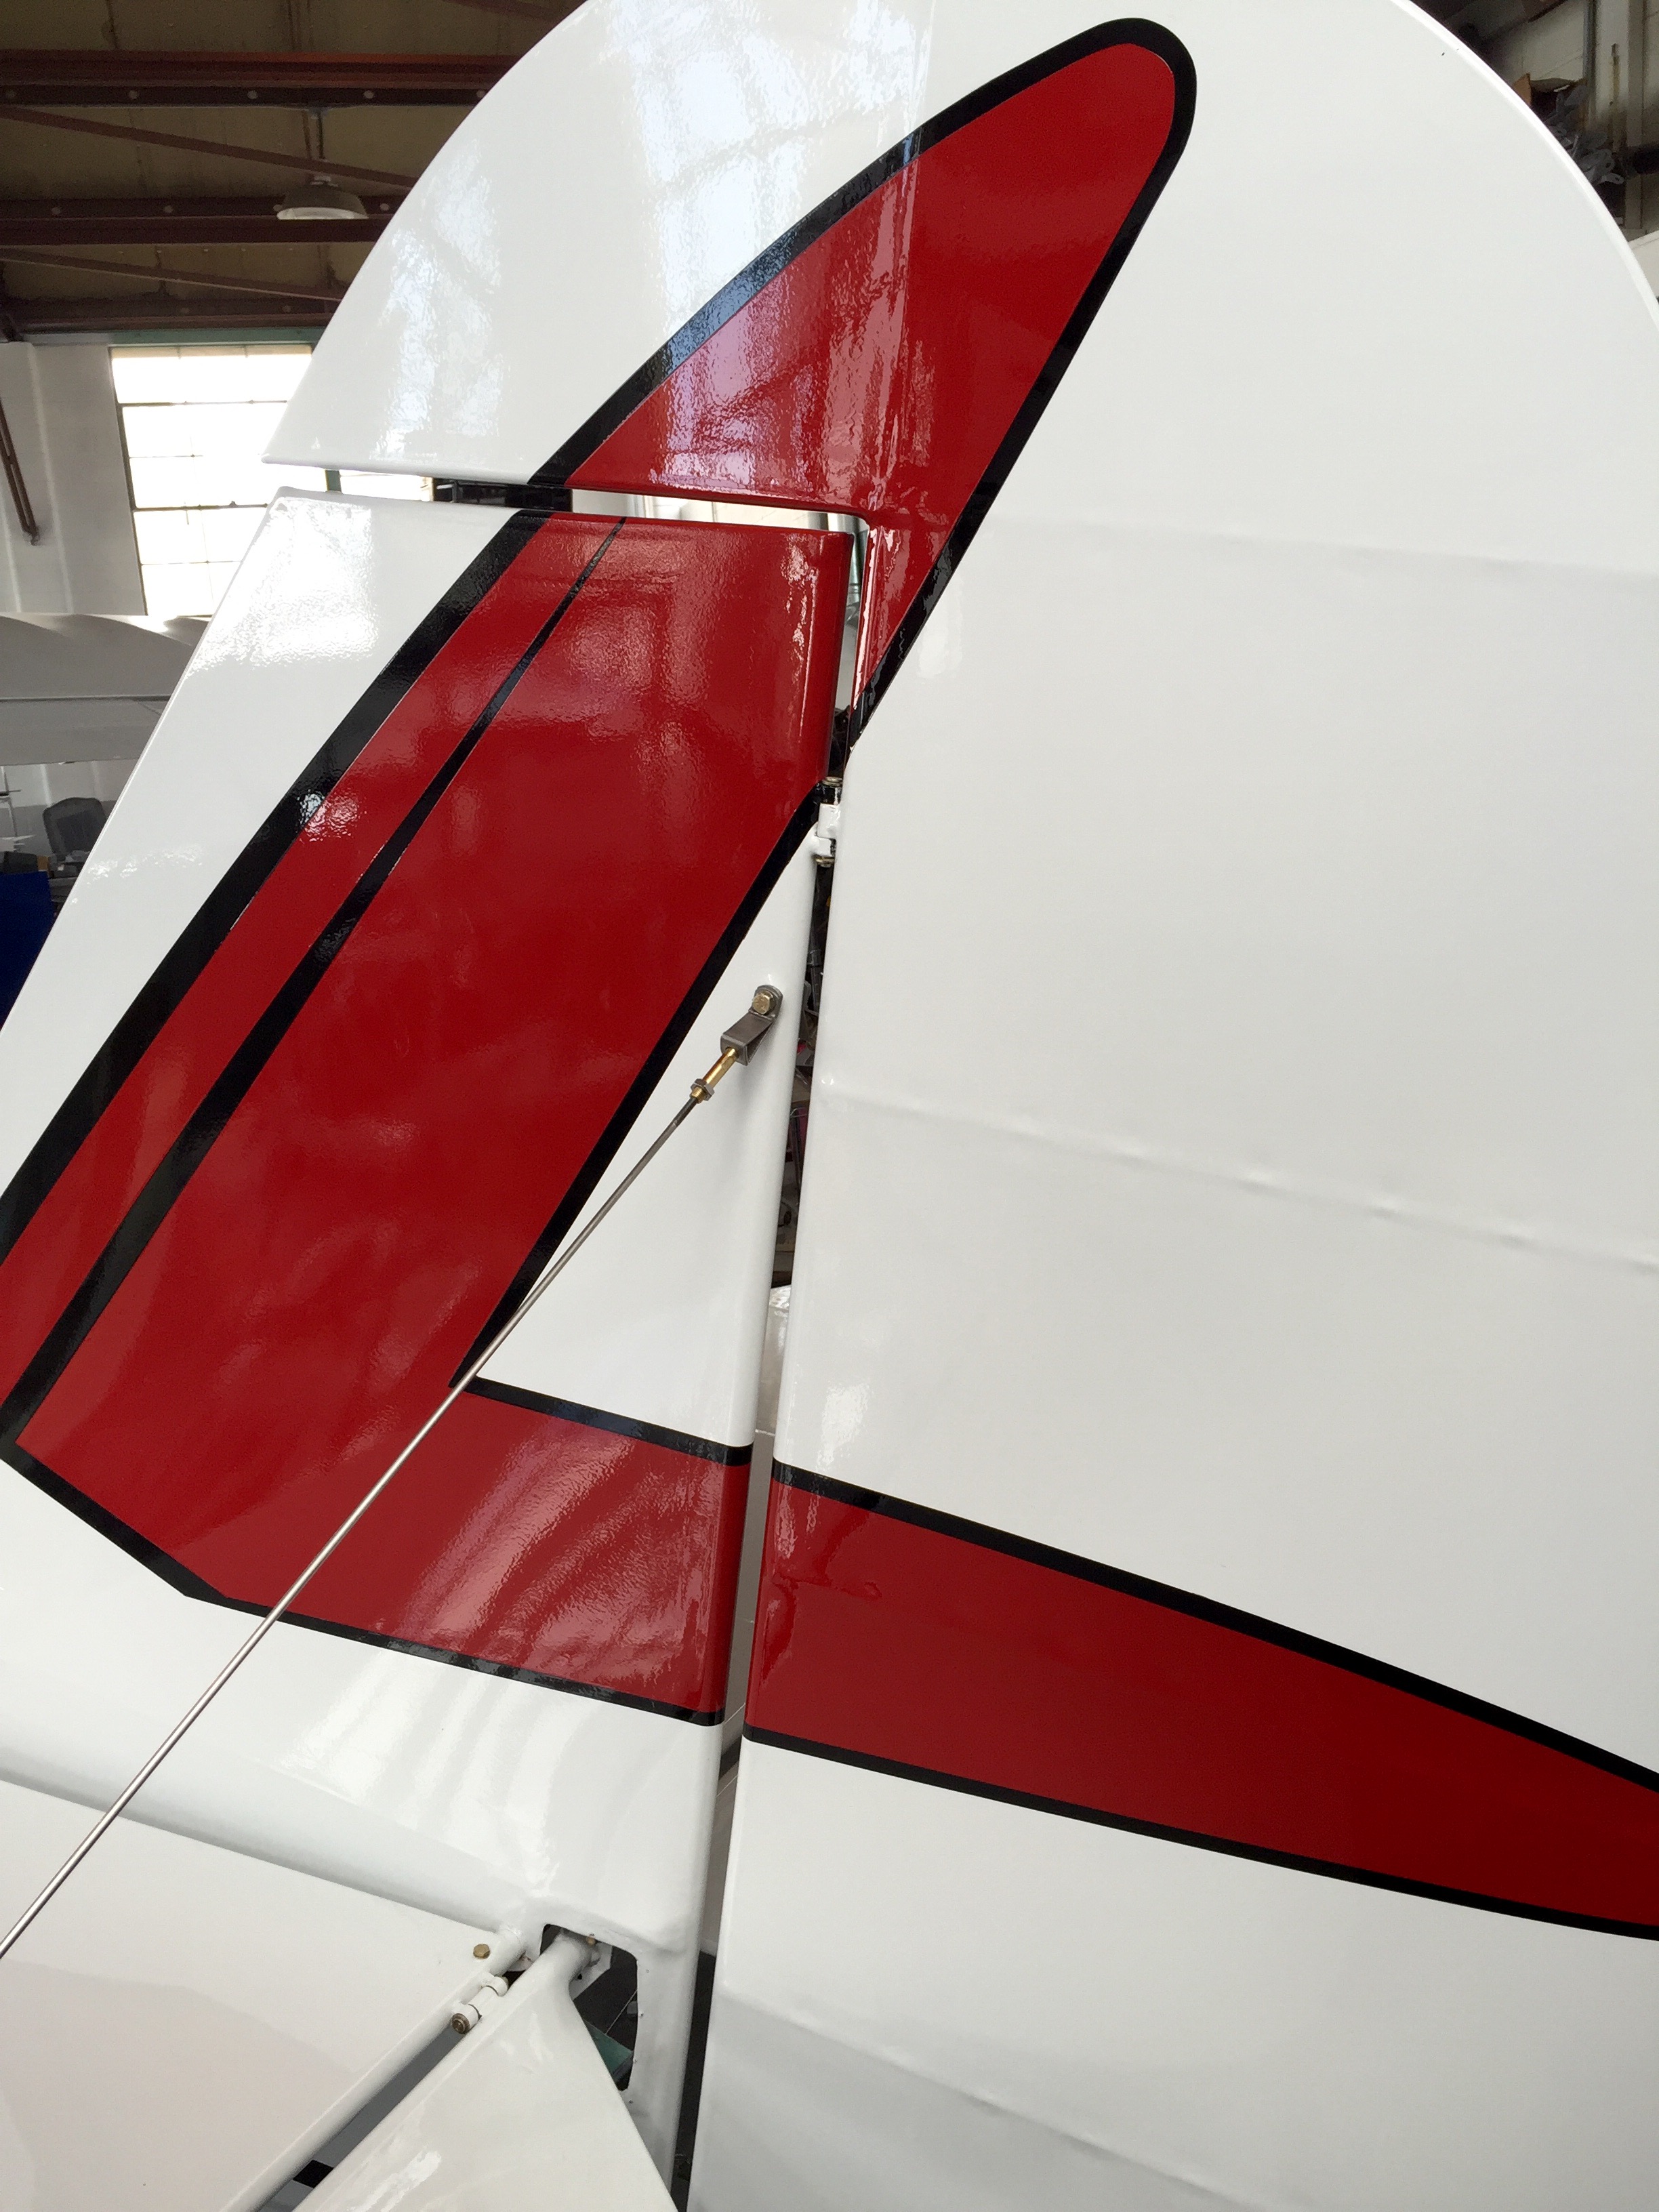
Does BC build the 'The huge horizontal and vertical fin" or did you build/add or buy them from someone else? How much larger than stock are they?
thanks
thanks
Aktahoe
Registered User
Truckee, Alaska
Does BC build the 'The huge horizontal and vertical fin" or did you build/add or buy them from someone else? How much larger than stock are they?
thanks
They are much larger! I forget exact measurements but its significant. They come with the Rev2 kit.

cubdriver2
FRIEND
upstate NY
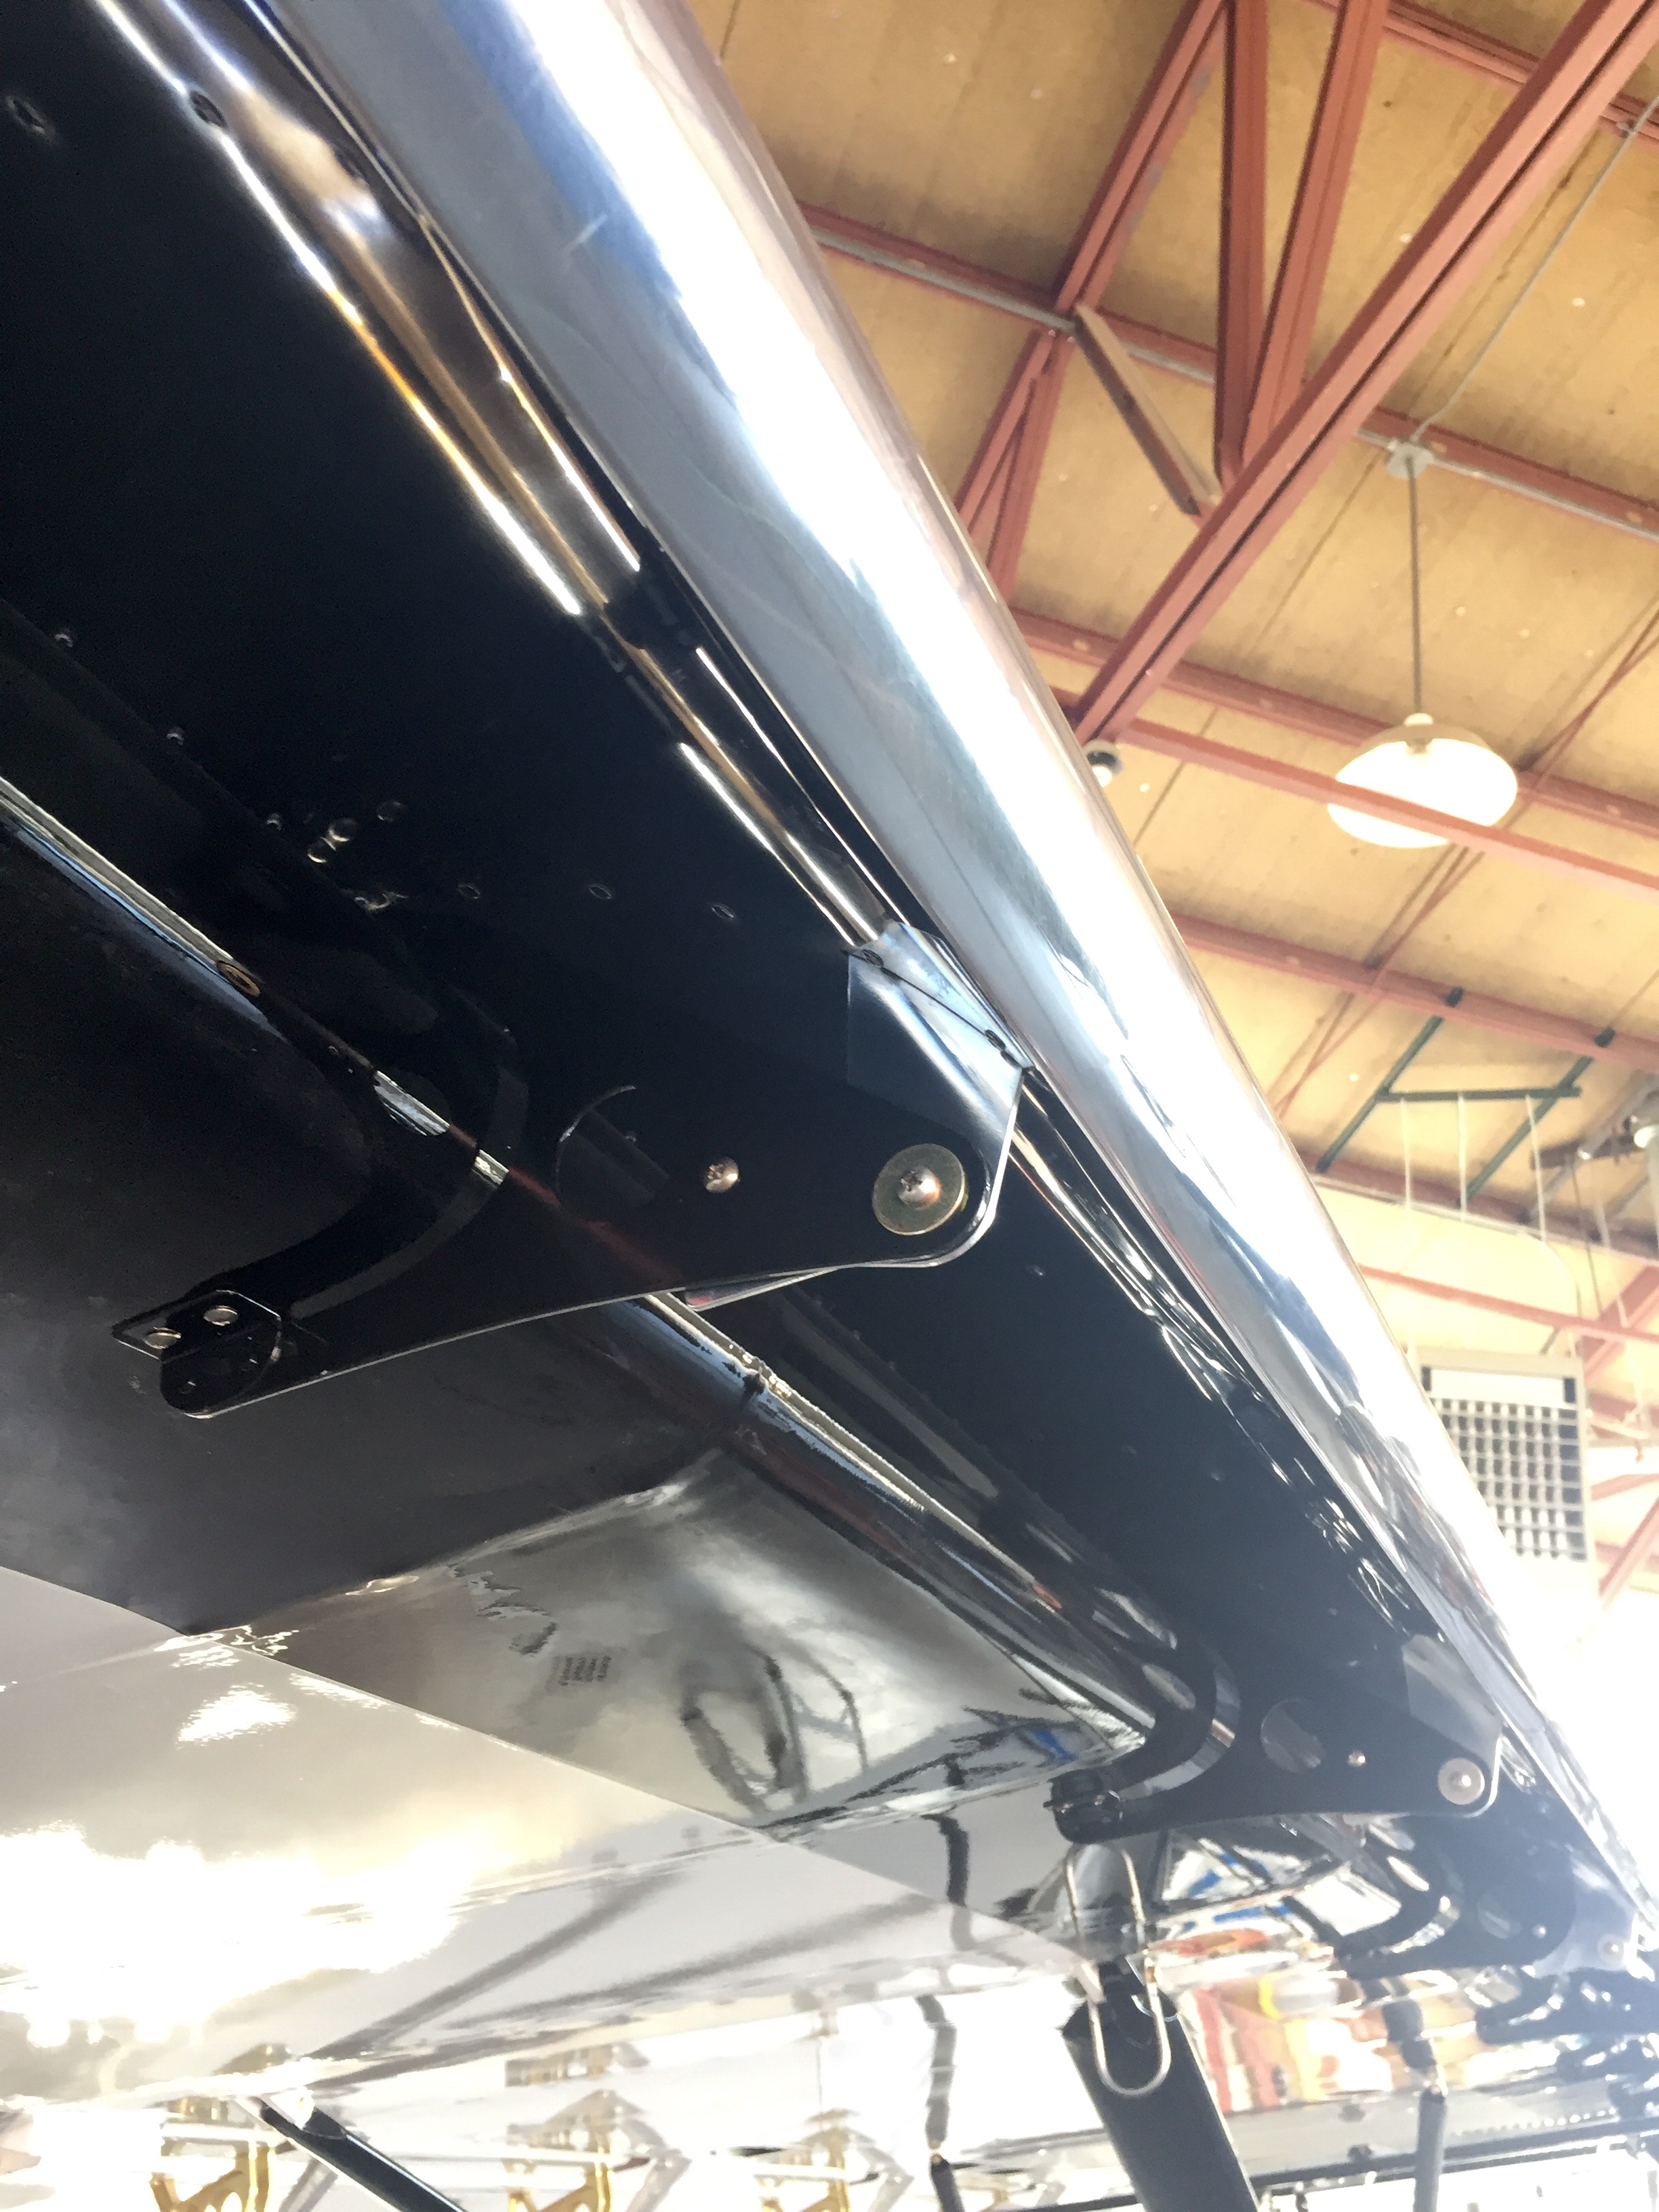
The vertical fin on mine (one of the later versions) is a continuation of the center former. My elevators attach differently than typical Cub.
Those strap hinges are the same design that Fokker made over 100 years ago. Simple
Glenn
a video of the installation and removal of such contraption ON A FLYING BIRD would be appreciated??? to show benefits?
Sorry for the delay in getting a video out there for everyone. We have been busy building a couple Staggerwing dual yokes and P-51 Oil Cooler Door parts that were requested. The Staggerwing dual yokes are made per the original Beechcraft engineering drawings. All platings and heat treatment are taken back to original specs as well.
I have attached a YouTube link that you can click on and watch a video showing how the mast can be removed for cargo or passenger operations without disturbing cable tensions. Also in the video is a demonstration on how much play was in the original control stick that prompted this redesign. One other major benefit of this design is that you do not need to cut the fabric to get the stick in and out. I was told that the fabric may have to be cut on a Backcountry Super Cub Version 2 to get the original stick in and out.
https://youtu.be/PCgH46BrTYo
Tim


Attachments


Similar threads
- Replies
- 5
- Views
- 5K
- Replies
- 116
- Views
- 63K