Supercubrancher
PATRON
NE
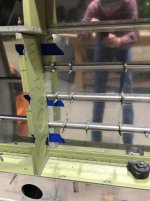
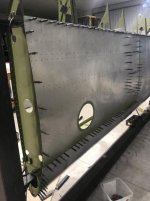
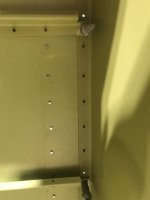
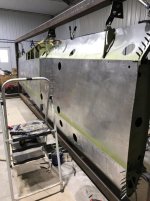
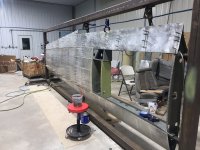
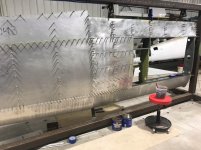
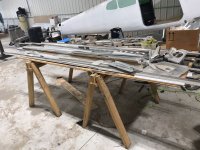
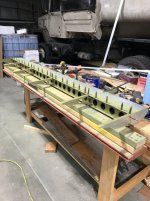
I bought this build from a gentleman in Texas and they had already started to build. He had built an RV and had experience with aluminum. I have built all my life and decided this is the only way I will get a new 185, build my own. I have not built any airplanes and no experience with solid rivets. After much researching and contemplation I decided to build a wing first. Cessna wings require a jig to get the twist in the wing correct among other things. We flew to a rebuilder and they let me look at there jig and measure and take pictures. So the first thing I built was the wing jig around the wing the previous owner had been working on. The skeleton was riveted together but the skin were just clecoed on. I worked on the jig for a couple days and put it on hinged casters so it would be easy to move when I was done. I bought a digital level and it is great for plumbing and leveling the jig. Once set I will not move the jig until I am done. I built the jig April 23 and 24 2020. I am only beginning to post this stuff because I have some down time and am going to try to catch up. I definitely did not take pictures of everything but I will post what I have and then try to keep current. Thanks for looking.


Attachments
-
 21CF9F4D-451D-4134-A3E2-A20DD661A4F6.jpeg243.6 KB · Views: 398
 -
 DF6C765F-76C5-4B0B-B892-2E3905E5EE6D.jpeg250.1 KB · Views: 365
 -
 F9EBDD76-08AF-4BC0-B81B-A3C75E3E79C1.jpg93.6 KB · Views: 371
 -
 6B7B6AC5-0C50-4AEF-9F79-60841EFE341E.jpg109.2 KB · Views: 333
 -
 E33E50CC-E18D-41CE-B6B9-D9A6FBE19632.jpg95.2 KB · Views: 245
Last edited:


")