• If You Are Having Trouble Logging In with Your Old Username and Password, Please use this Forgot Your Password link to get re-established.
  • Hey! Be sure to login or register!

tools, jigs, fixtures, and other neat stuff

This is a nifty tool for cutting 3-1/8" instrument holes. The square block is centered over the desired location in the panel, and a hole is drilled through the middle bushing. An extra-long cleco holds the block in place while the 4 corner instrument holes are drilled. The block is removed, and the fly-cutter drops into place. It leaves a nice clean hole if you keep the cutter sharp. This tool belongs to a friend who is trying to figure out where it came from. He's looking for the 2-1/4" version. Any guess as to who made it? No markings anywhere on the tool.


IMG_8572.jpg

IMG_8575.jpg
 

Attachments

  • IMG_8572.jpg
    IMG_8572.jpg
    51.8 KB · Views: 1,475
  • IMG_8575.jpg
    IMG_8575.jpg
    43 KB · Views: 1,445
This is a nifty tool for cutting 3-1/8" instrument holes. The square block is centered over the desired location in the panel, and a hole is drilled through the middle bushing. An extra-long cleco holds the block in place while the 4 corner instrument holes are drilled. The block is removed, and the fly-cutter drops into place. It leaves a nice clean hole if you keep the cutter sharp. This tool belongs to a friend who is trying to figure out where it came from. He's looking for the 2-1/4" version. Any guess as to who made it? No markings anywhere on the tool.


View attachment 30697

View attachment 30698

very interesting looking... would be a fun project to make some.... but then again, individual round holes are kinda phasing out, this current project only has a single small hole for a backup compass.... everything else is displayed in the rectangle GX3.....

but that doesn't mean i wouldn't make me one just as a fun project... maybe use an annular cutter(my new favorite tools)
 
Perhaps for something like a backup ring under an inspection cover? Or a doubler behind a round hole in sheet aluminum? Mike???
 
I redid the panel on my experimental a couple years ago, doing away with ALL the round steam gauges (Hobbs meter is now the only round gauge, even it's function is now duplicated by my GRT EIS, but i had too many hours on it to lose those bragging rights). When I was laying out the new CF panel, it occurred to me that the 2 large rectangular holes I had to cut for the EIS and the GRT MINI was going to be a piece of cake. Best of all, I later figured out (when I had to get back behind the panel) by removing the MINI (4 machine screws, self tapped into the CF, as an experiment, no nut plates etc. 600 hours later and several uses they are holding fine, saved a little weight!) I now had an access hole big enough to reach into, a real handy feature. Just something to keep in mind if laying out a new style panel, your wazoo e display can also be a great access point IF you ever need to get back in there, in my case it sure beat laying upside down under there.
 
Jimbo, both iTW Plexus and Weld-on make structural adhesives. For plexus, MA-300 is a common all purpose adhesive that will bond two pieces of fiberglass together, and the glass will break before the adhesive will.
The adhesive creates substantial heat in the curing process, so using the proper amount is fairly important. (Enough to create a proper chemical reaction to cure, and not so much as the adhesive boils and causes an air void). We use it a lot and it works well.
Weld-on is perhaps a more tolerant product to boiling, but we find plexus more readily available from distributors.

Peter


Sent from my imitation glass cockpit using SuperCub.Org mobile app
 
I think I would use thin structural epoxy like WEST for epoxy parts. If the viscosity needs to be improved, use powdered cotton flocking, it is stronger than the usual extenders like Cab-O-Sil or microballons.
 
You can read about several different epoxy' in the aircraft spruce cat. and their applications. The problem is if the fiberglass parts are made with different resin's. Some have a wax in them that surfaces when it cures so clean all the surfaces really well with acetone. Also between each lay-up. The general rule is always go to epoxy resin when your not sure of the parts. Also be careful of too much heat by kicking off the resin too fast with the hardener.
 
not airplane, but just in general.... and this here is why you never get near/under a load... excitement starts at about 6 minute mark... glad he's ok!! he has some great videos, check him out....
I sent him $100 for his new cable fund(bcbloc01 at yahoo.com for pay pal)... plus I have learned allot from his videos...


Last edited:
Bad day, too bad, that will take days if not weeks to recover from. Did you notice the video started in day light and was very dark at the end, long day also.
 
Bad day, too bad, that will take days if not weeks to recover from. Did you notice the video started in day light and was very dark at the end, long day also.


yup, and that was a pretty new cement floor he just poured... at least he has a video to go with the story.... and all his big and little parts are still attached to him...
 
maybe not a plane, but answers my question of how to make that skin/dobbler under cessna door post/belly... STRECH IT!

 
Mike, You would enjoy a visit to any large airplane factory. That is the method which Cessna uses to make the cowls, on a great big stretching machine.
 
Mike, your shop is full of all sorts of interesting tools, machines, and devices. Can you do the annealling step, too? Or is there a heat treat shop in ANC? The video mentioned 8 hours at 200C, but I imagine the actual time and temp depend on the alloy being used.
 
Mike, your shop is full of all sorts of interesting tools, machines, and devices. Can you do the annealling step, too? Or is there a heat treat shop in ANC? The video mentioned 8 hours at 200C, but I imagine the actual time and temp depend on the alloy being used.

i could do small stuff (heat treat) if I needed to, but not big stuff.... I hear the base here has the capability, but no idea who to contact....
 
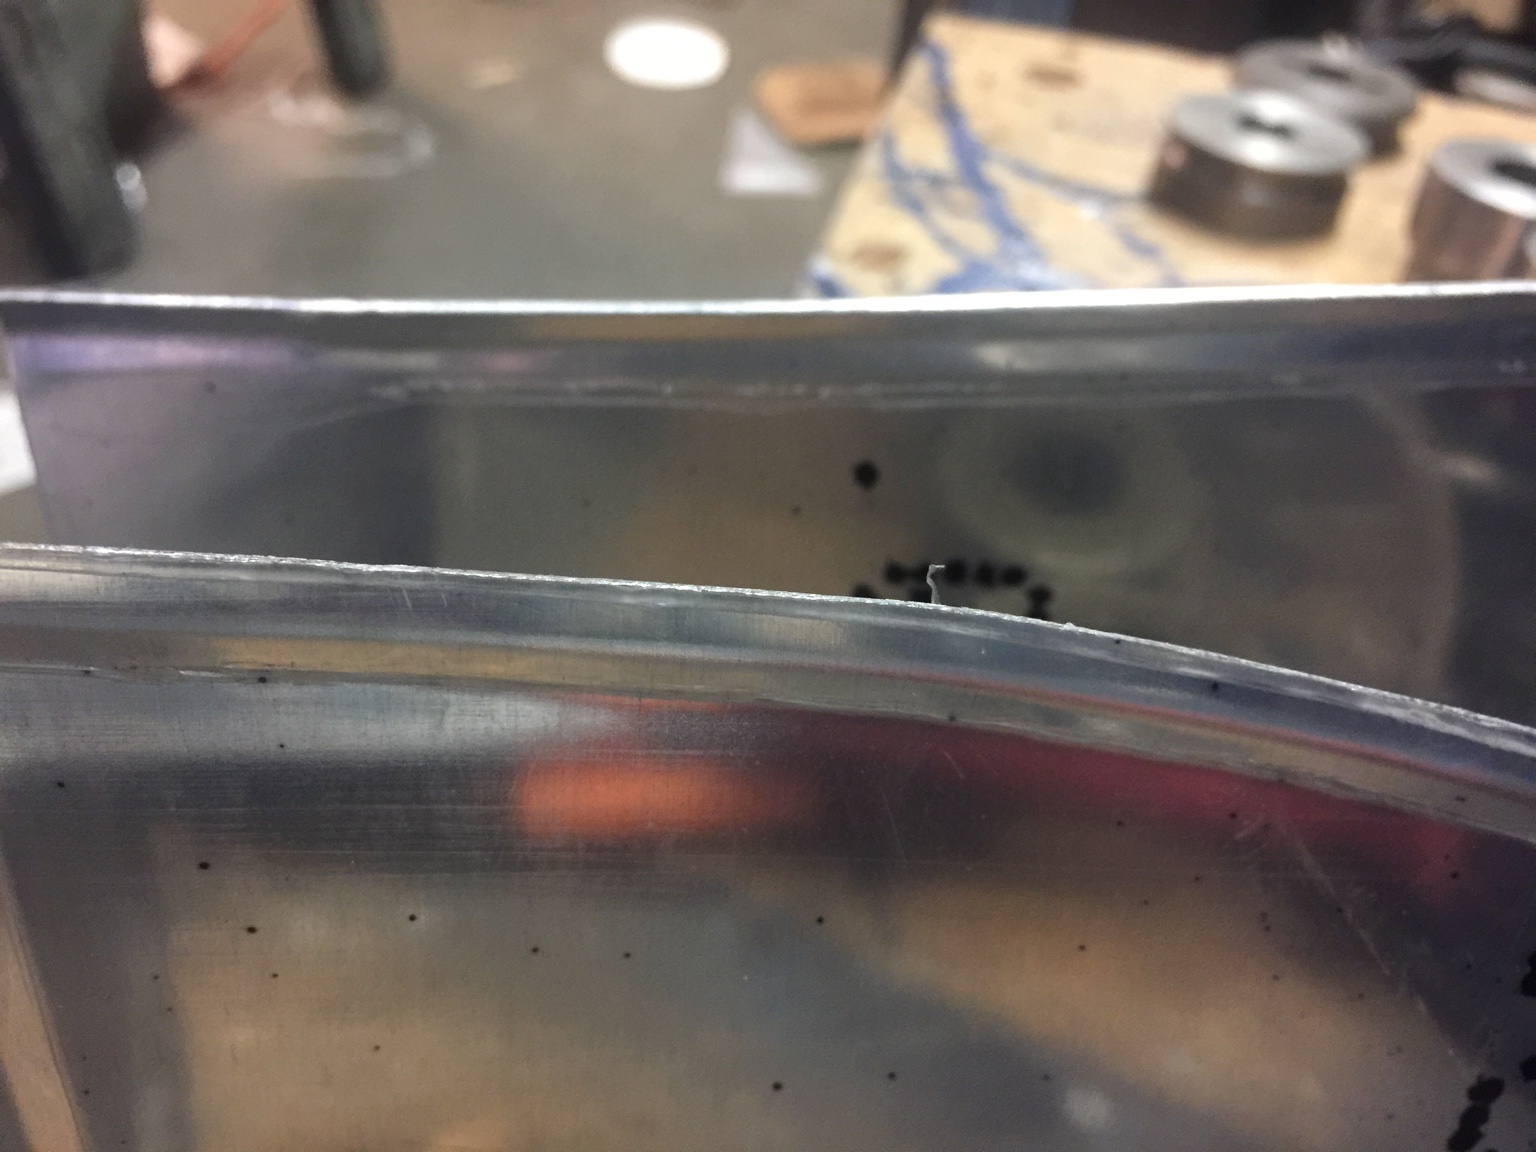
Finally can reproduce the bead like Piper did on stabilizer inspection covers It always made them deformed and curved. Added outfeed table to straighten it as it rolls. Turned dies backwards.
9b0fd58cebc29f170b37d0d84709aa01.jpg
f2a7e18355daa1265070707d16718bf4.jpg
56b0d4cb02c1fc5e031b0131fddd4494.jpg
a81ec50452fdfc52e8bcfcc71f7edb87.jpg
b44990f5454abb6fa231e81949bf29ff.jpg


Sent from my iPhone using SuperCub.Org mobile app
 
MIke what about an old ratchet bumper jack with the post reversed ( upside-down, base welded to top of post ) ?

Glenn
 
Last edited:
I still use my vacuum pump to suck the air out of the tire so no danger of pinching it between the wheel halves
 
Someone posted here a year or two ago about a fixture he made for pulling the wheel halves together when mounting BW's--
two fender washers and a length of all-thread rod with nuts.
Looked like it would work just fine.
 
Someone posted here a year or two ago about a fixture he made for pulling the wheel halves together when mounting BW's--
two fender washers and a length of all-thread rod with nuts.
Looked like it would work just fine.
Yes, all thread does work but as Mike said, it takes more time. The clamp tool looks like a good deal.
 
Back
Top